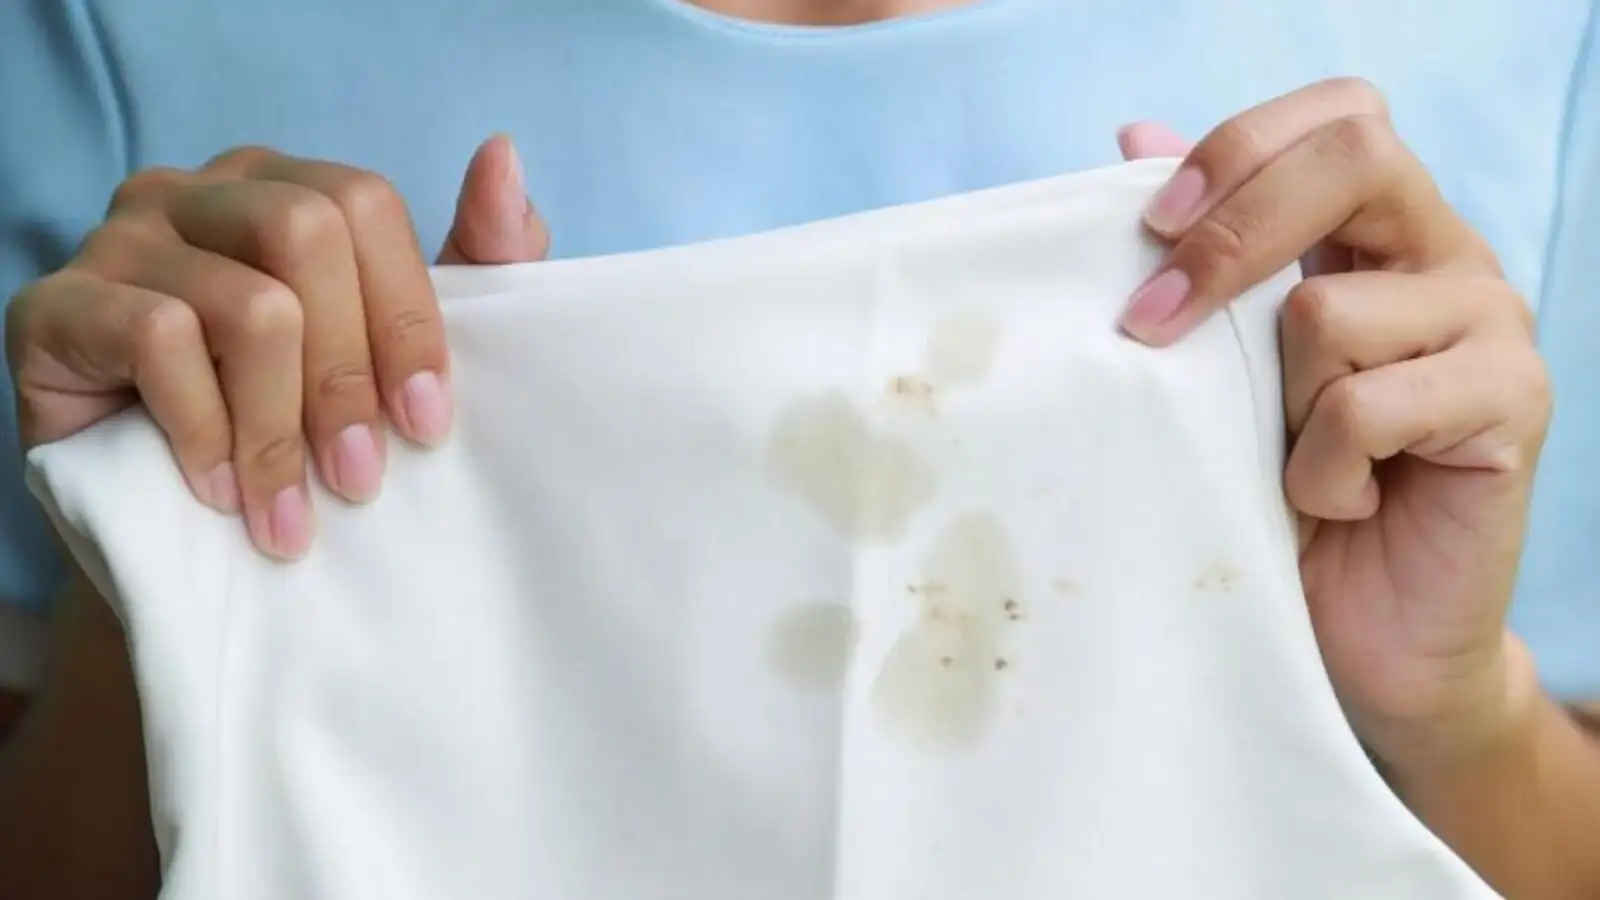
Keeping your bathroom floor clean is essential for maintaining a hygienic and inviting space. A clean bathroom floor not only looks great but also helps prevent the spread of germs and bacteria. In this comprehensive guide, we will walk you through the steps involved in effectively cleaning your bathroom floor, from choosing the right cleaning products to tackling tough stains. We will also discuss some helpful tips and tricks to make the cleaning process easier and more efficient. By following these guidelines, you can ensure that your bathroom floor is always sparkling clean.
Choosing the Right Cleaning Products
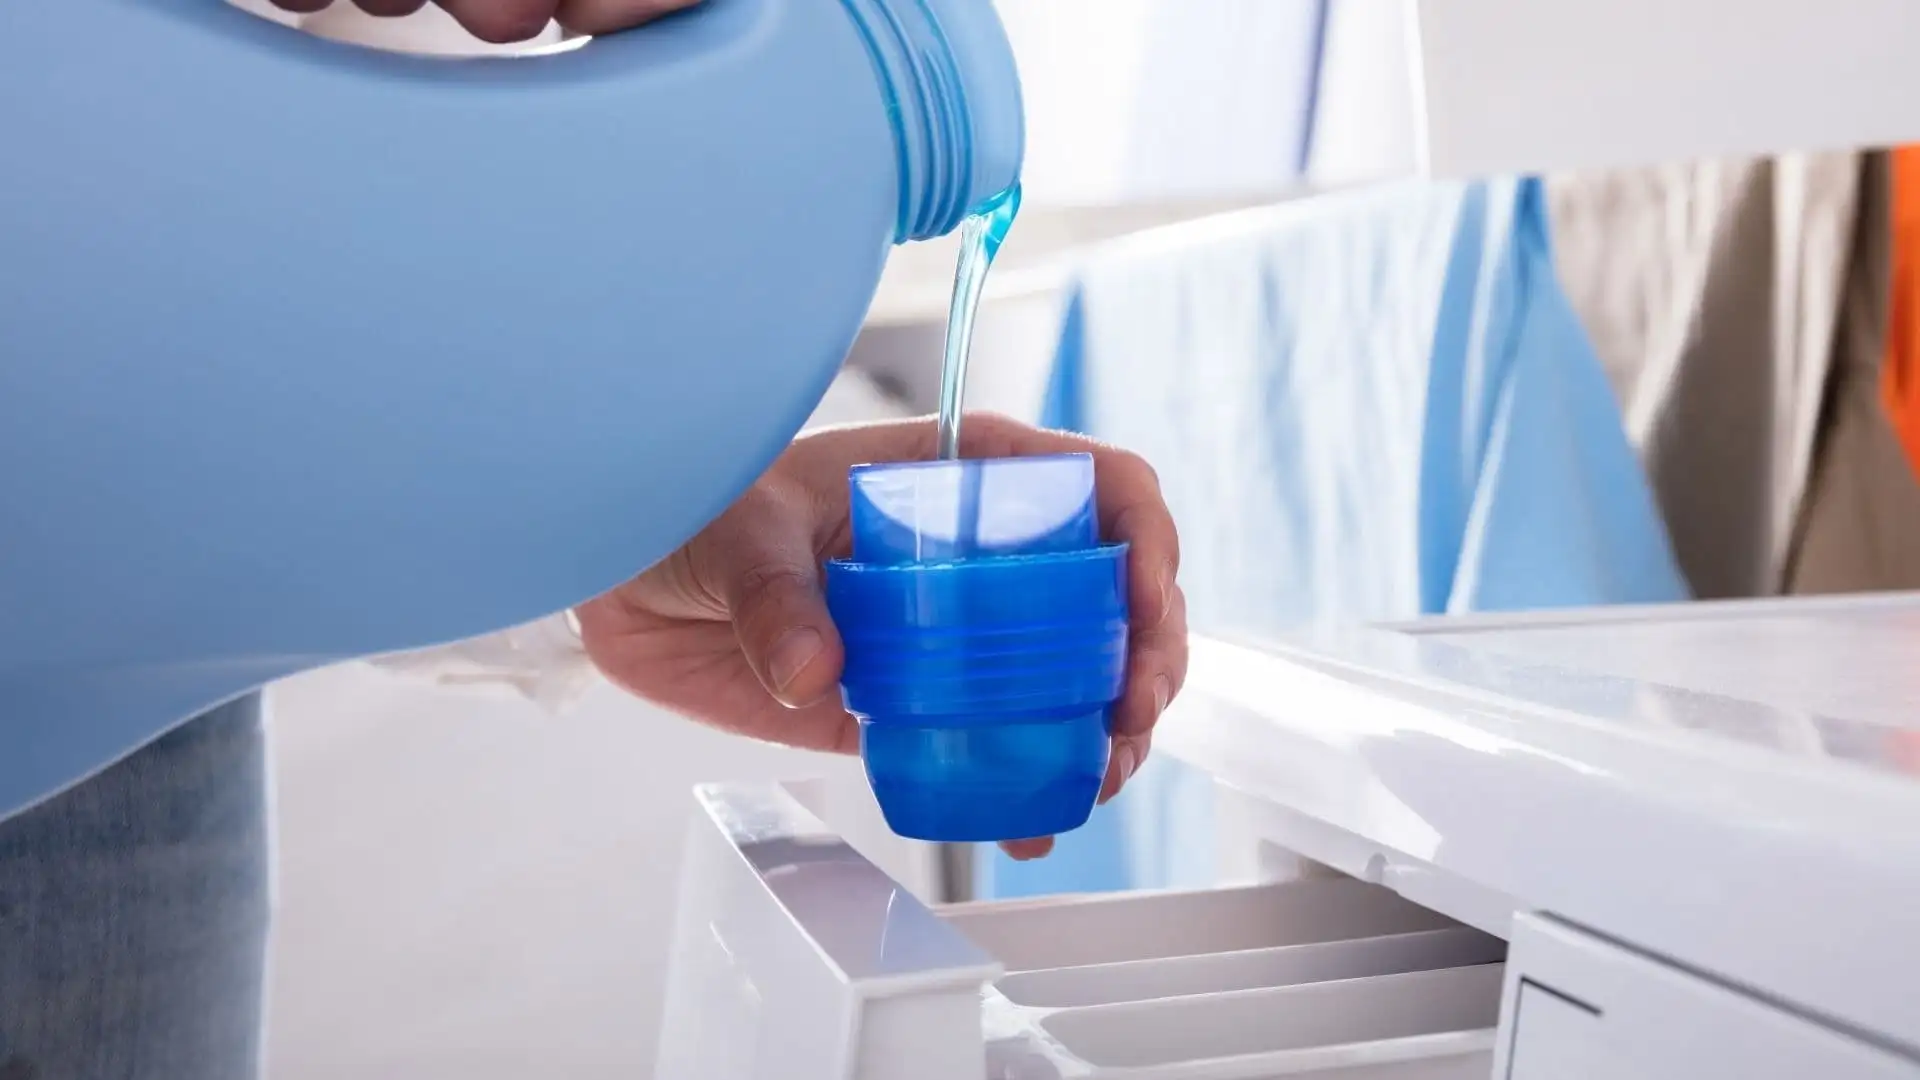
Selecting the appropriate cleaning products is crucial for achieving a thorough clean. For general bathroom floor cleaning, a mild all-purpose cleaner is often sufficient. However, for tougher stains or specific types of flooring, you may need more specialized products. Some popular options include:
- Tile and grout cleaners: These cleaners are specifically designed to remove dirt and grime from tile and grout lines.
- Disinfectant cleaners: Disinfectants help kill germs and bacteria, making them ideal for bathrooms.
- Natural cleaners: If you prefer a more eco-friendly approach, you can use natural cleaning products like vinegar or baking soda.
How to clean bathroom floor types, step by step
Keeping your bathroom floor clean is essential for maintaining a hygienic and inviting space. However, with a variety of flooring materials available, each requiring specific cleaning methods, it can be overwhelming to know where to start. This comprehensive guide will walk you through a step-by-step process for cleaning different types of bathroom floors, including ceramic tile, natural stone, vinyl, and laminate. By following these tips, you can ensure your bathroom floor stays spotless and sparkling.
Ceramic Tile
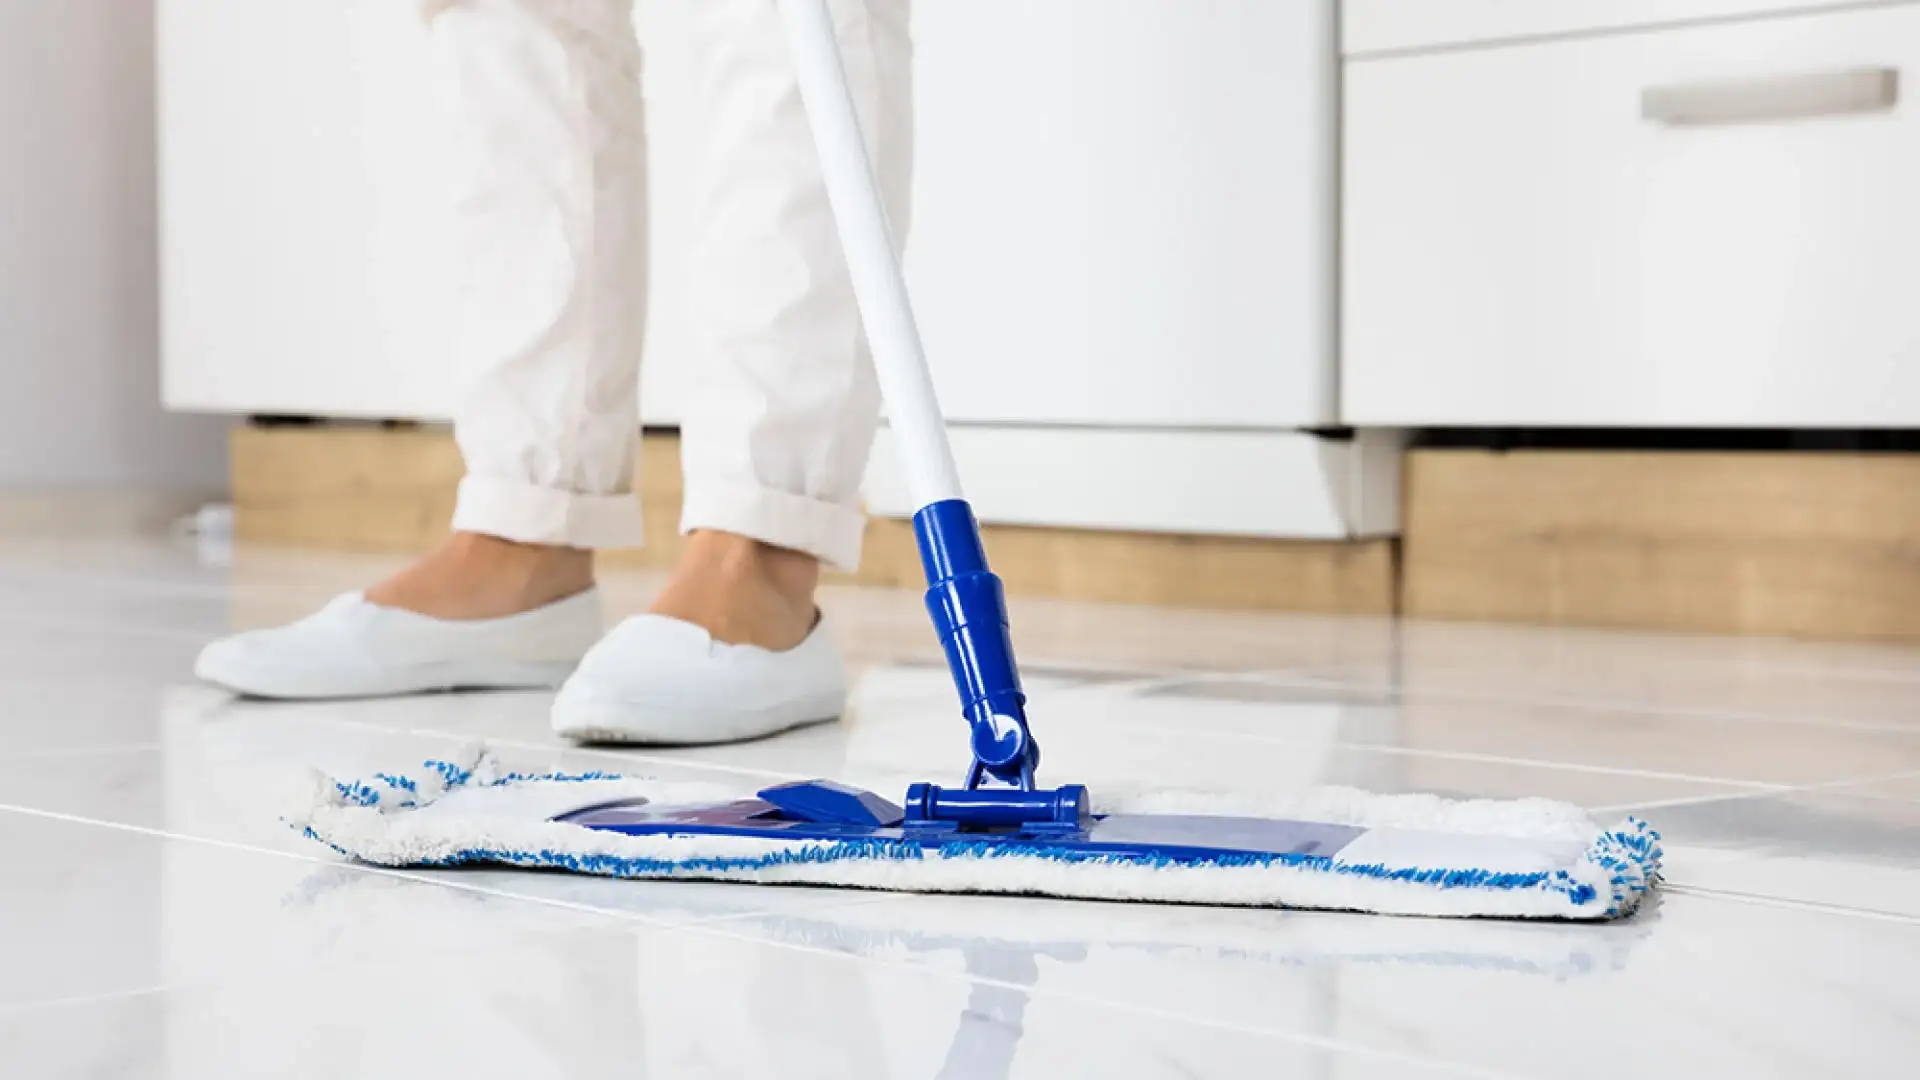
Ceramic tile is a popular choice for bathroom floors due to its durability and water resistance. To clean ceramic tile, start by sweeping or vacuuming to remove loose dirt and debris. Next, fill a bucket with warm water and a mild bathroom cleaner. Dip a mop into the solution and wring it out thoroughly. Mop the floor in sections, working in a back-and-forth motion. For grout lines, use a grout brush and a grout cleaner to remove built-up grime. Finish by rinsing the floor with clean water and allowing it to air dry.
Natural Stone
Natural stone, such as marble or granite, adds a touch of elegance to any bathroom. However, it requires special care to maintain its beauty. To clean natural stone floors, avoid using acidic cleaners as they can damage the stone. Instead, use a pH-neutral stone cleaner and a soft-bristled brush. Gently scrub the floor, paying attention to any stains or spills. Rinse thoroughly and dry with a microfiber cloth. For a deeper clean, consider sealing your natural stone floor to protect it from stains and water damage.
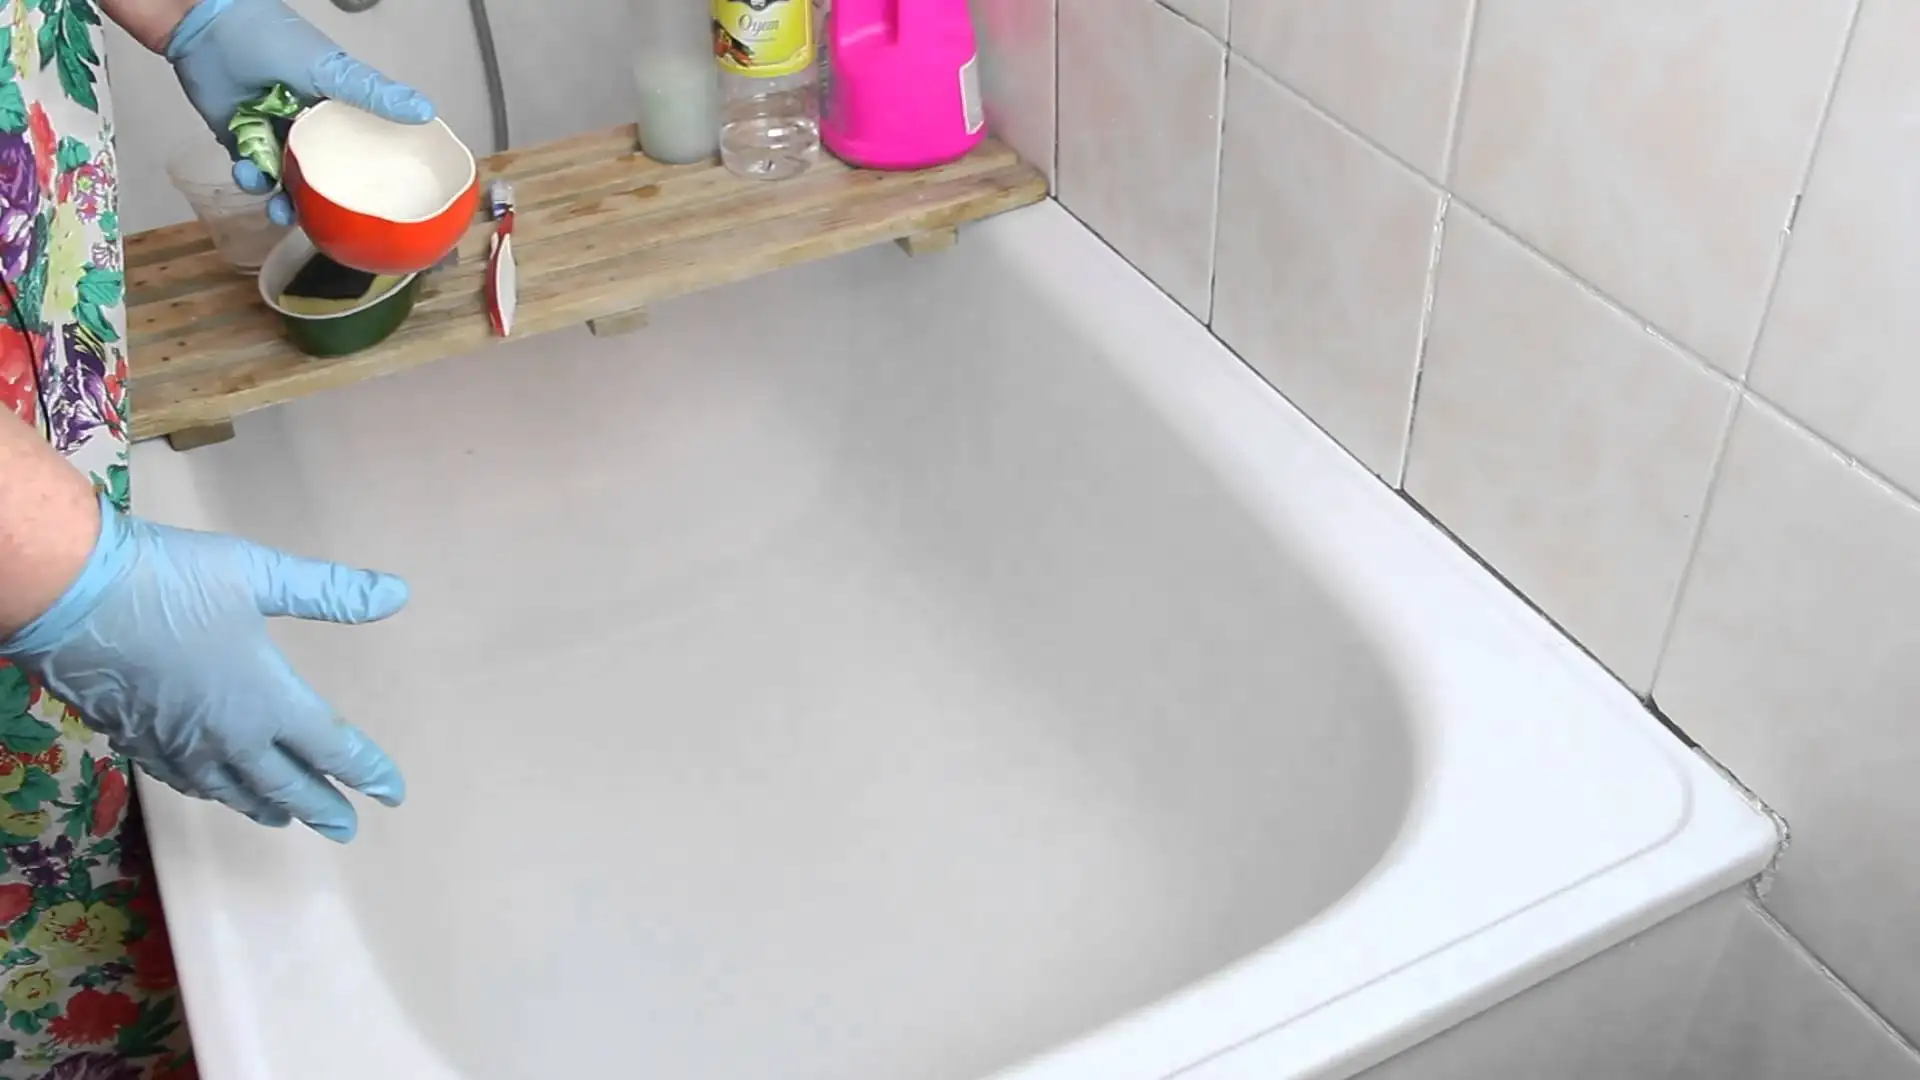
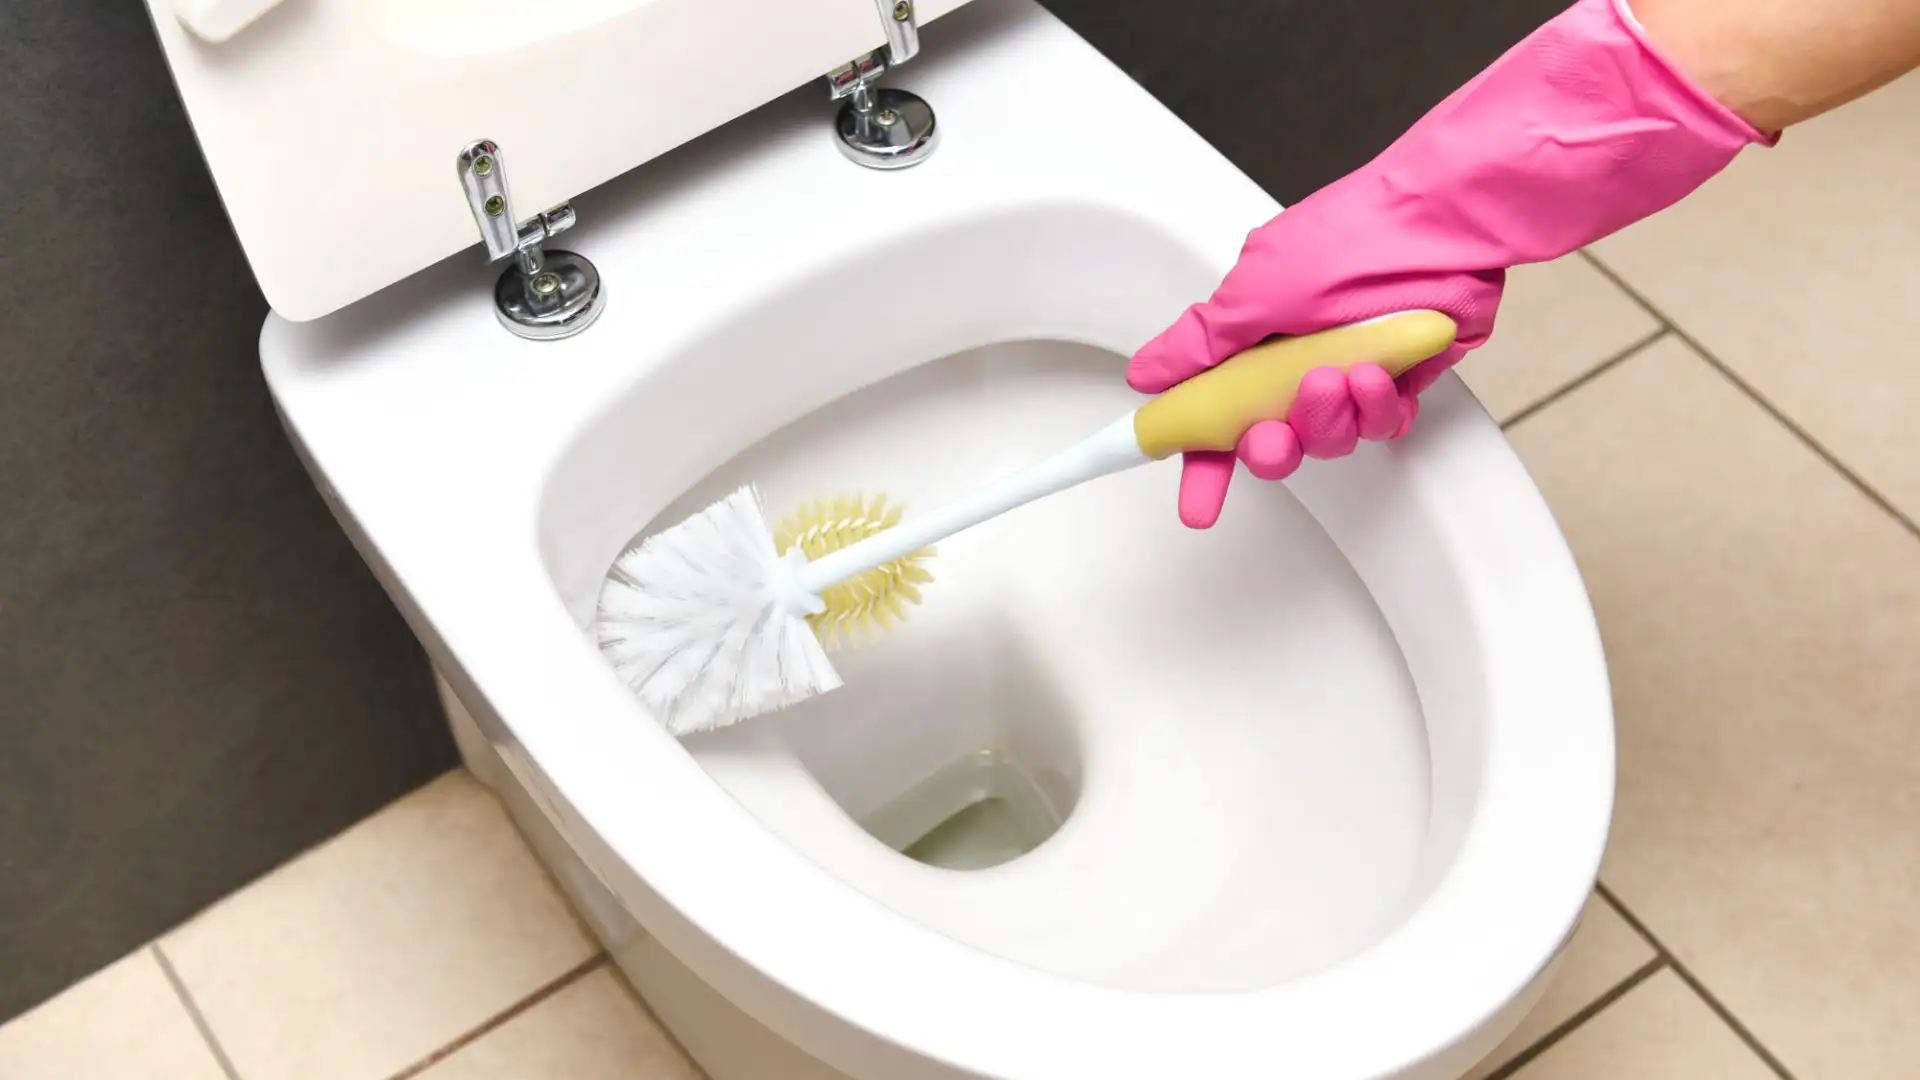
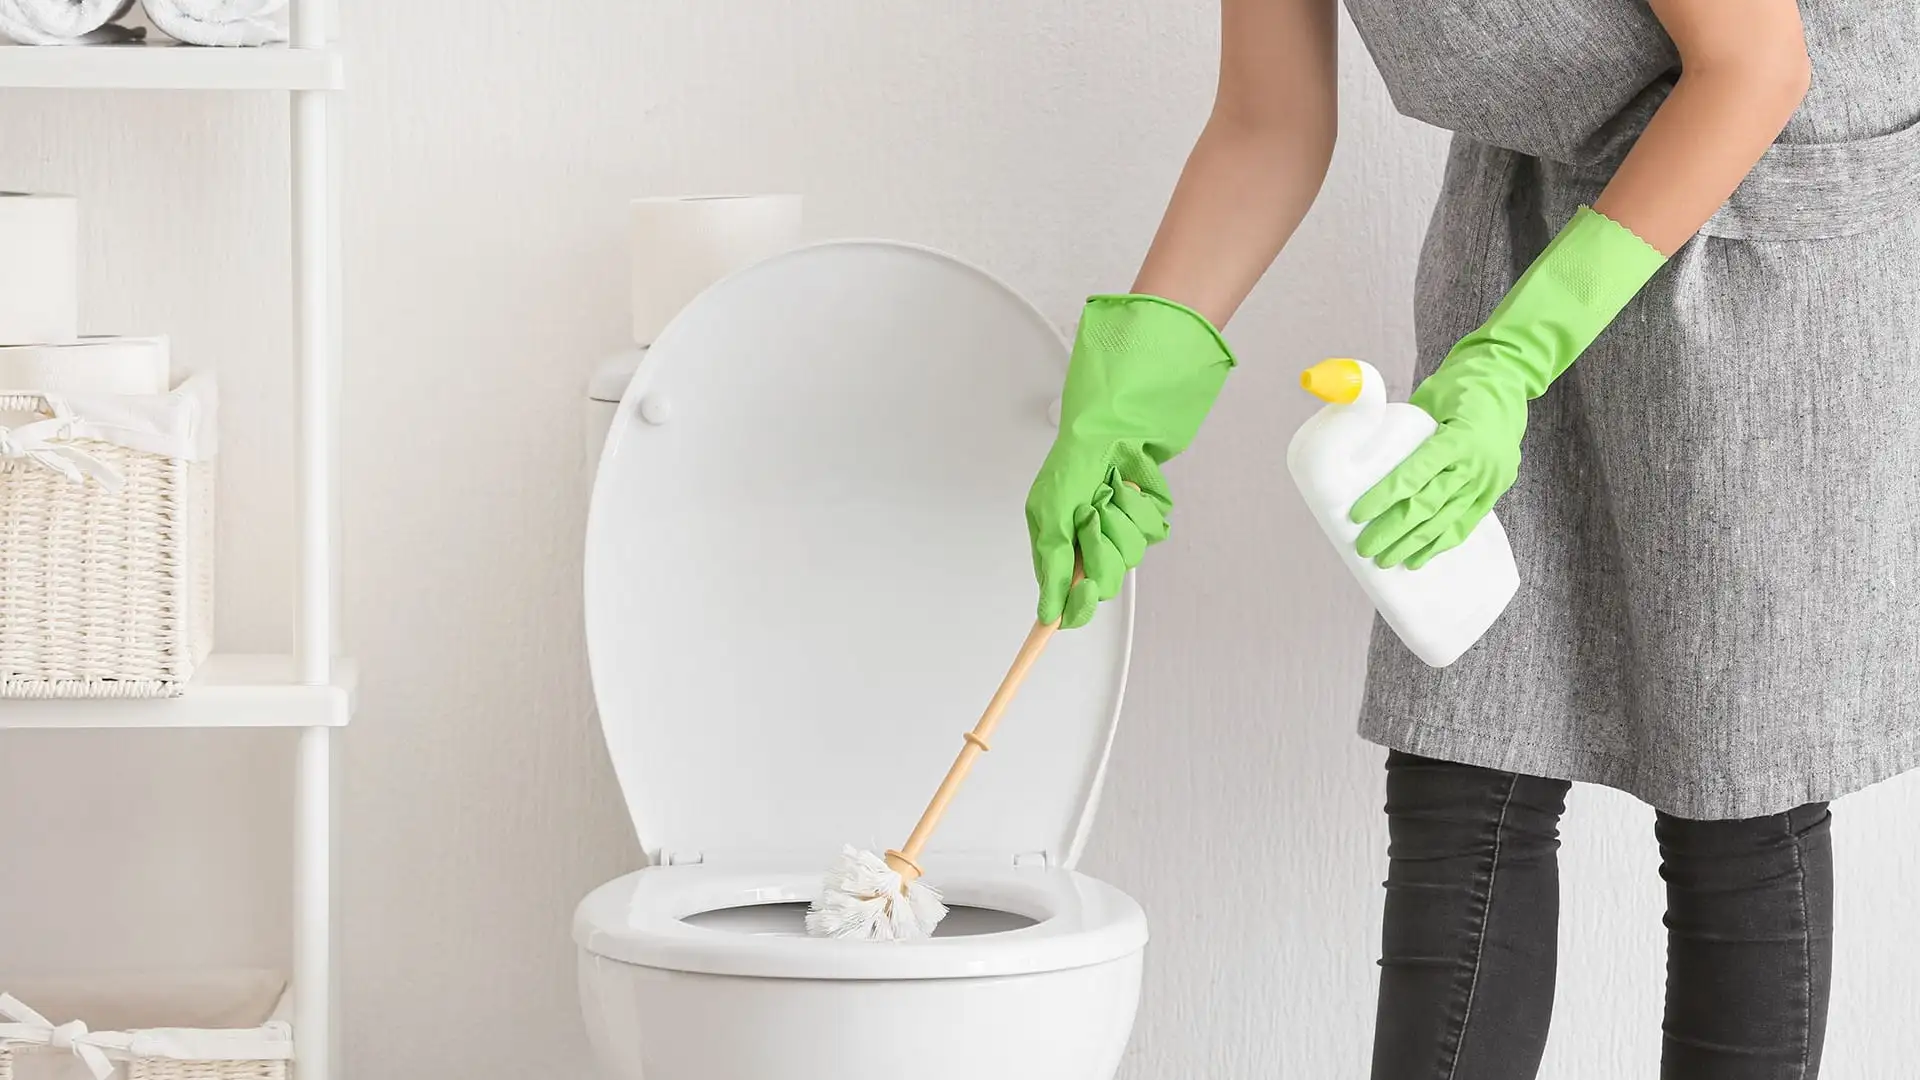
How to clean shower bases
Keeping your shower base clean is essential for maintaining a hygienic bathroom and preventing the buildup of mold, mildew, and soap scum. A clean shower base not only looks better but also contributes to a healthier living environment. In this comprehensive guide, we will walk you through the steps involved in effectively cleaning your shower base, regardless of the material it is made from.
Understanding Shower Base Materials
Before we dive into the cleaning process, it's important to understand the different materials used for shower bases. Common materials include acrylic, porcelain, and natural stone. Each material has its unique properties and requires specific cleaning methods.
- Acrylic: Acrylic shower bases are known for their durability and resistance to stains. They are relatively easy to clean and maintain, but can be scratched if cleaned with abrasive materials.
- Porcelain: Porcelain shower bases are highly durable and resistant to chemicals. They are non-porous, making them less susceptible to stains and bacteria.
- Natural Stone: Natural stone shower bases, such as marble or granite, are luxurious and add a touch of elegance to any bathroom. However, they are more porous than acrylic or porcelain and require special care to prevent staining and etching.
Essential Cleaning Supplies
To effectively clean your shower base, you will need the following supplies:
- A mild all-purpose cleaner: Choose a cleaner that is specifically designed for bathroom surfaces and is free of harsh chemicals.
- A soft-bristled brush: A soft-bristled brush is ideal for scrubbing away stubborn grime without damaging the surface of your shower base.
- A non-abrasive sponge: A non-abrasive sponge can be used for gentle scrubbing and wiping down surfaces.
- White vinegar: White vinegar is a natural cleaning agent that is effective at removing soap scum and hard water stains.
- Baking soda: Baking soda is a gentle abrasive that can be used to scrub away tough stains.
- Rubber gloves: Rubber gloves will protect your hands from harsh chemicals and prevent skin irritation.
- A squeegee: A squeegee is useful for removing excess water and preventing water spots.
Step-by-Step Cleaning Process
- Remove standing water: Before you begin cleaning, remove any standing water from your shower base using a squeegee.
- Apply cleaner: Apply a mild all-purpose cleaner to the surface of your shower base and allow it to sit for a few minutes to loosen dirt and grime.
- Scrub: Use a soft-bristled brush or non-abrasive sponge to scrub away any stubborn stains or buildup. Pay special attention to areas where soap scum or mold tends to accumulate.
- Rinse thoroughly: Rinse the shower base with warm water to remove all traces of the cleaner and debris.
- Address tough stains: For tough stains, create a paste of baking soda and water and apply it to the affected area. Allow the paste to sit for 15-20 minutes before scrubbing and rinsing.
- Clean grout lines: Use an old toothbrush to clean the grout lines between the tiles and the shower base. A mixture of white vinegar and water can be effective for removing mildew and grime from grout lines.
- Dry: Use a microfiber cloth to dry the shower base completely. This will help prevent water spots and mildew growth.
Preventing Buildup
To keep your shower base clean and prevent the buildup of dirt and grime, it's important to follow these tips:
- Clean regularly: Make it a habit to clean your shower base after each use.
- Squeegee after showering: Use a squeegee to remove excess water from the shower base immediately after showering.
- Ventilate your bathroom: Good ventilation helps to reduce moisture and prevent mold and mildew growth.
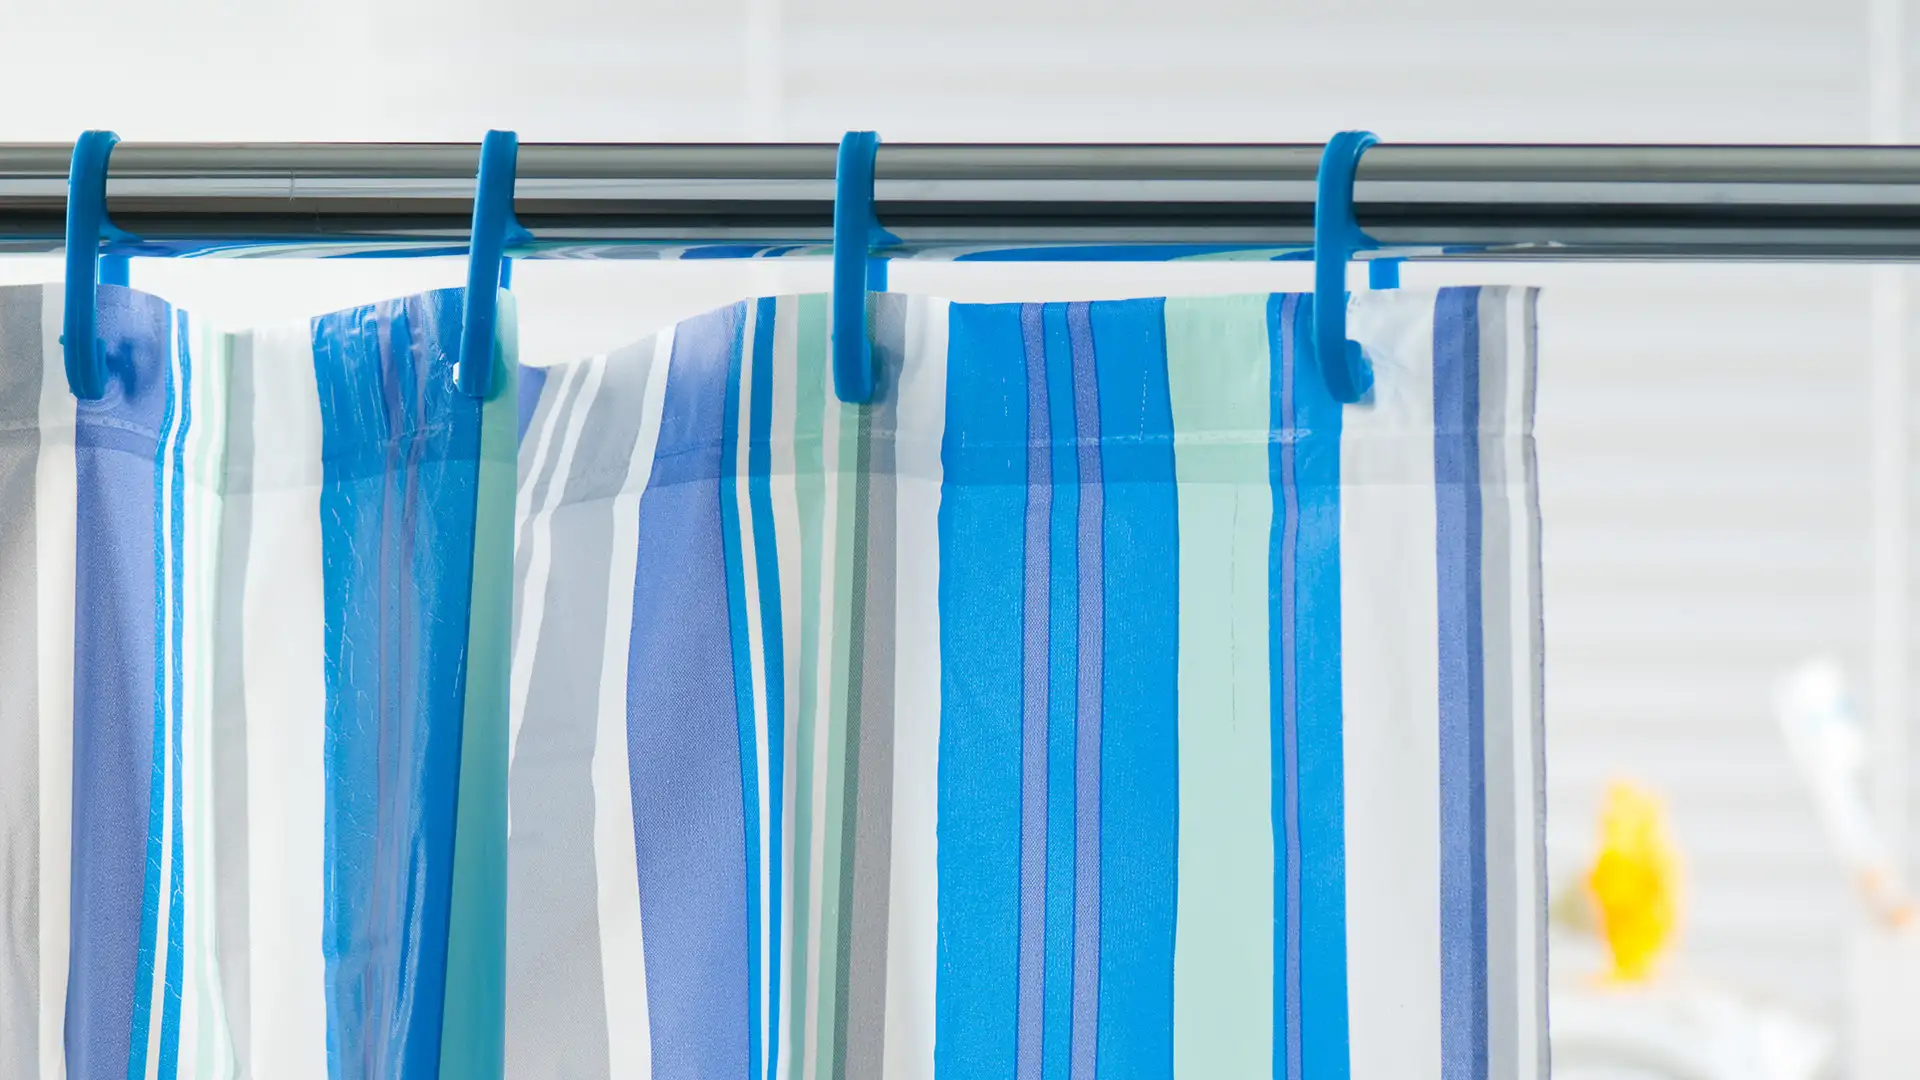
- Use a shower curtain liner: A shower curtain liner can help to contain water and prevent it from splashing onto the walls and floor.
Conclusion
By following these steps and tips, you can keep your shower base clean and looking its best. Regular cleaning will not only improve the appearance of your bathroom but also help to maintain a healthy and hygienic environment. Remember to choose cleaning products that are safe for your shower base material and to avoid using abrasive cleaners or scrubbing tools that could damage the surface.
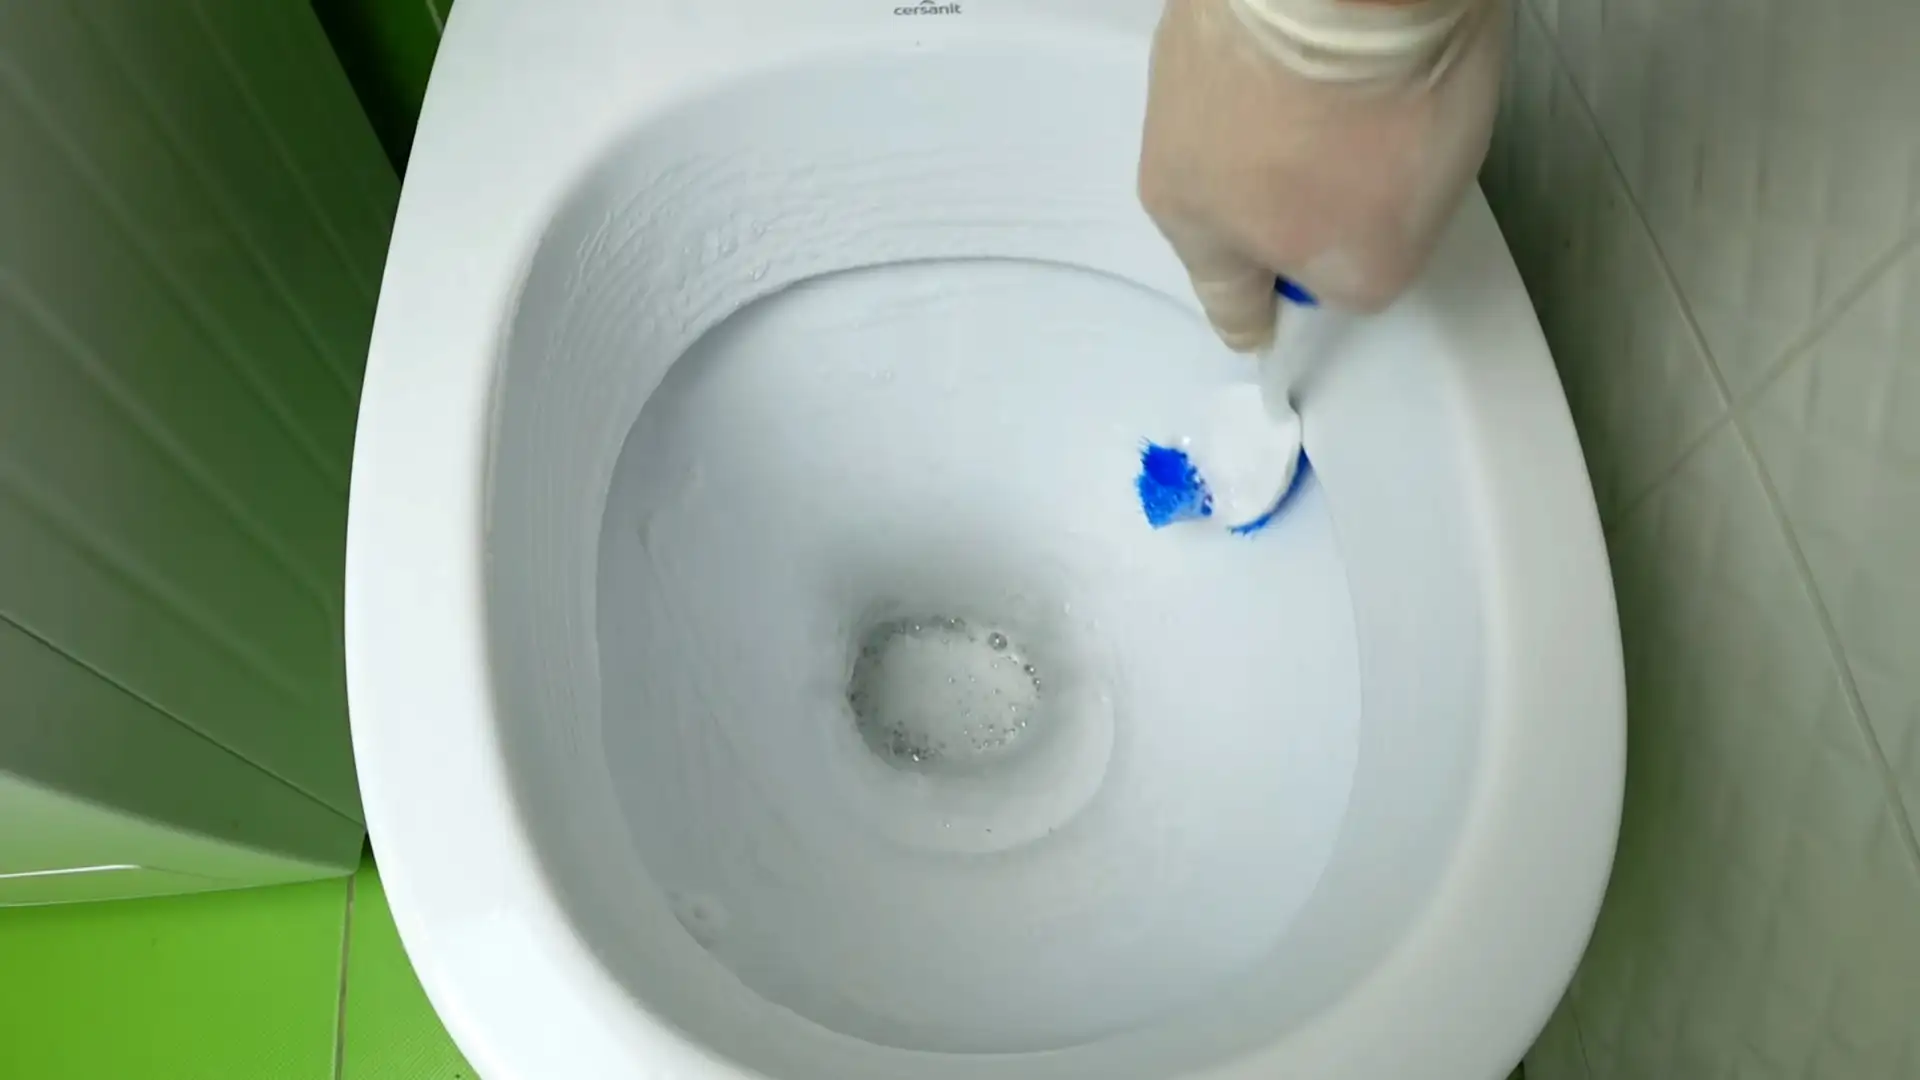
How to remove hard water stains from bathroom floor tiles
Hard water stains can be a persistent and unsightly problem in bathrooms, particularly on tiled floors. These mineral deposits not only detract from the aesthetic appeal of your bathroom but can also make cleaning more difficult. In this comprehensive guide, we will delve into the causes of hard water stains and explore effective methods to remove them, restoring your bathroom tiles to their former glory.
Understanding Hard Water Stains:
Hard water contains a high concentration of minerals such as calcium and magnesium. When water evaporates from surfaces, these minerals are left behind, forming unsightly white or yellowish stains. Over time, these deposits can become increasingly difficult to remove.
Why Choose Natural Cleaning Agents?
While commercial cleaning products can be effective in removing hard water stains, they often contain harsh chemicals that can damage tile surfaces and pose health risks. Natural cleaning agents, such as vinegar, baking soda, and lemon juice, offer a safer and more environmentally friendly alternative.
Step-by-Step Guide to Removing Hard Water Stains:
- Prepare the Surface: Begin by sweeping or vacuuming the floor to remove any loose dirt or debris. This will ensure that the cleaning solution can effectively penetrate the stains.
- Create a Cleaning Solution:
- Vinegar Solution: Mix equal parts white vinegar and water in a spray bottle. Vinegar is a natural acid that helps to break down mineral deposits.
- Baking Soda Paste: Create a paste by combining baking soda and water. Baking soda is a gentle abrasive that can help scrub away stubborn stains.
- Lemon Juice: For particularly stubborn stains, you can use pure lemon juice or a mixture of lemon juice and water. The citric acid in lemon juice is effective at dissolving mineral deposits.
- Apply the Solution: Liberally apply the chosen cleaning solution to the stained areas. Allow the solution to sit for 15-30 minutes to give it time to work.
- Scrub the Surface: Using a soft-bristled brush, gently scrub the stained areas. For more stubborn stains, you may need to scrub more vigorously.
- Rinse Thoroughly: Rinse the floor with clean water to remove any remaining cleaning solution and mineral deposits.
- Dry the Surface: Use a microfiber cloth or squeegee to dry the floor completely.
Additional Tips for Effective Stain Removal:
- Regular Cleaning: Regular cleaning can help prevent hard water stains from building up.
- Soft Water: Installing a water softener can help to reduce the amount of minerals in your water and prevent future stains.
- Avoid Harsh Chemicals: Harsh chemicals can damage tile surfaces and grout lines.
- Test in an Inconspicuous Area: Before applying any cleaning solution to a large area, test it in a small, inconspicuous spot to ensure it does not damage the tile.
Conclusion: Removing hard water stains from bathroom floor tiles requires patience and the right cleaning agents. By following the steps outlined in this guide, you can effectively eliminate these unsightly deposits and restore your bathroom tiles to their original beauty. Remember, prevention is key. Regular cleaning and the use of a water softener can help to keep your bathroom looking its best for years to come.