Mould growth on bathroom sealant is a common household issue that can be unsightly, unpleasant, and potentially harmful to your health. The damp and humid environment of a bathroom provides the perfect breeding ground for mould spores, which can thrive on the silicone or caulk used to seal gaps around showers, tubs, and sinks. This guide will provide you with detailed steps on how to effectively clean mould off your bathroom sealant, restoring its appearance and preventing future growth.
Why is Mould a Problem?
Mould not only detracts from the aesthetics of your bathroom but can also pose serious health risks, especially for individuals with allergies or respiratory issues. Mould spores can trigger allergic reactions, asthma attacks, and other respiratory problems. Additionally, mould can damage the underlying surfaces and materials in your bathroom, leading to more costly repairs in the long run.
Key steps to removing mould from silicon sealant
Mold growth on silicone sealant can be unsightly and potentially harmful. This guide will outline the steps involved in removing mold from silicone sealant effectively.
Understanding Mold Growth on Silicone Sealant
Mold thrives in damp, dark environments. Silicone sealant, often found in bathrooms and kitchens, can provide the ideal conditions for mold to grow. Factors such as poor ventilation, high humidity levels, and infrequent cleaning can contribute to mold proliferation.
Safety Precautions
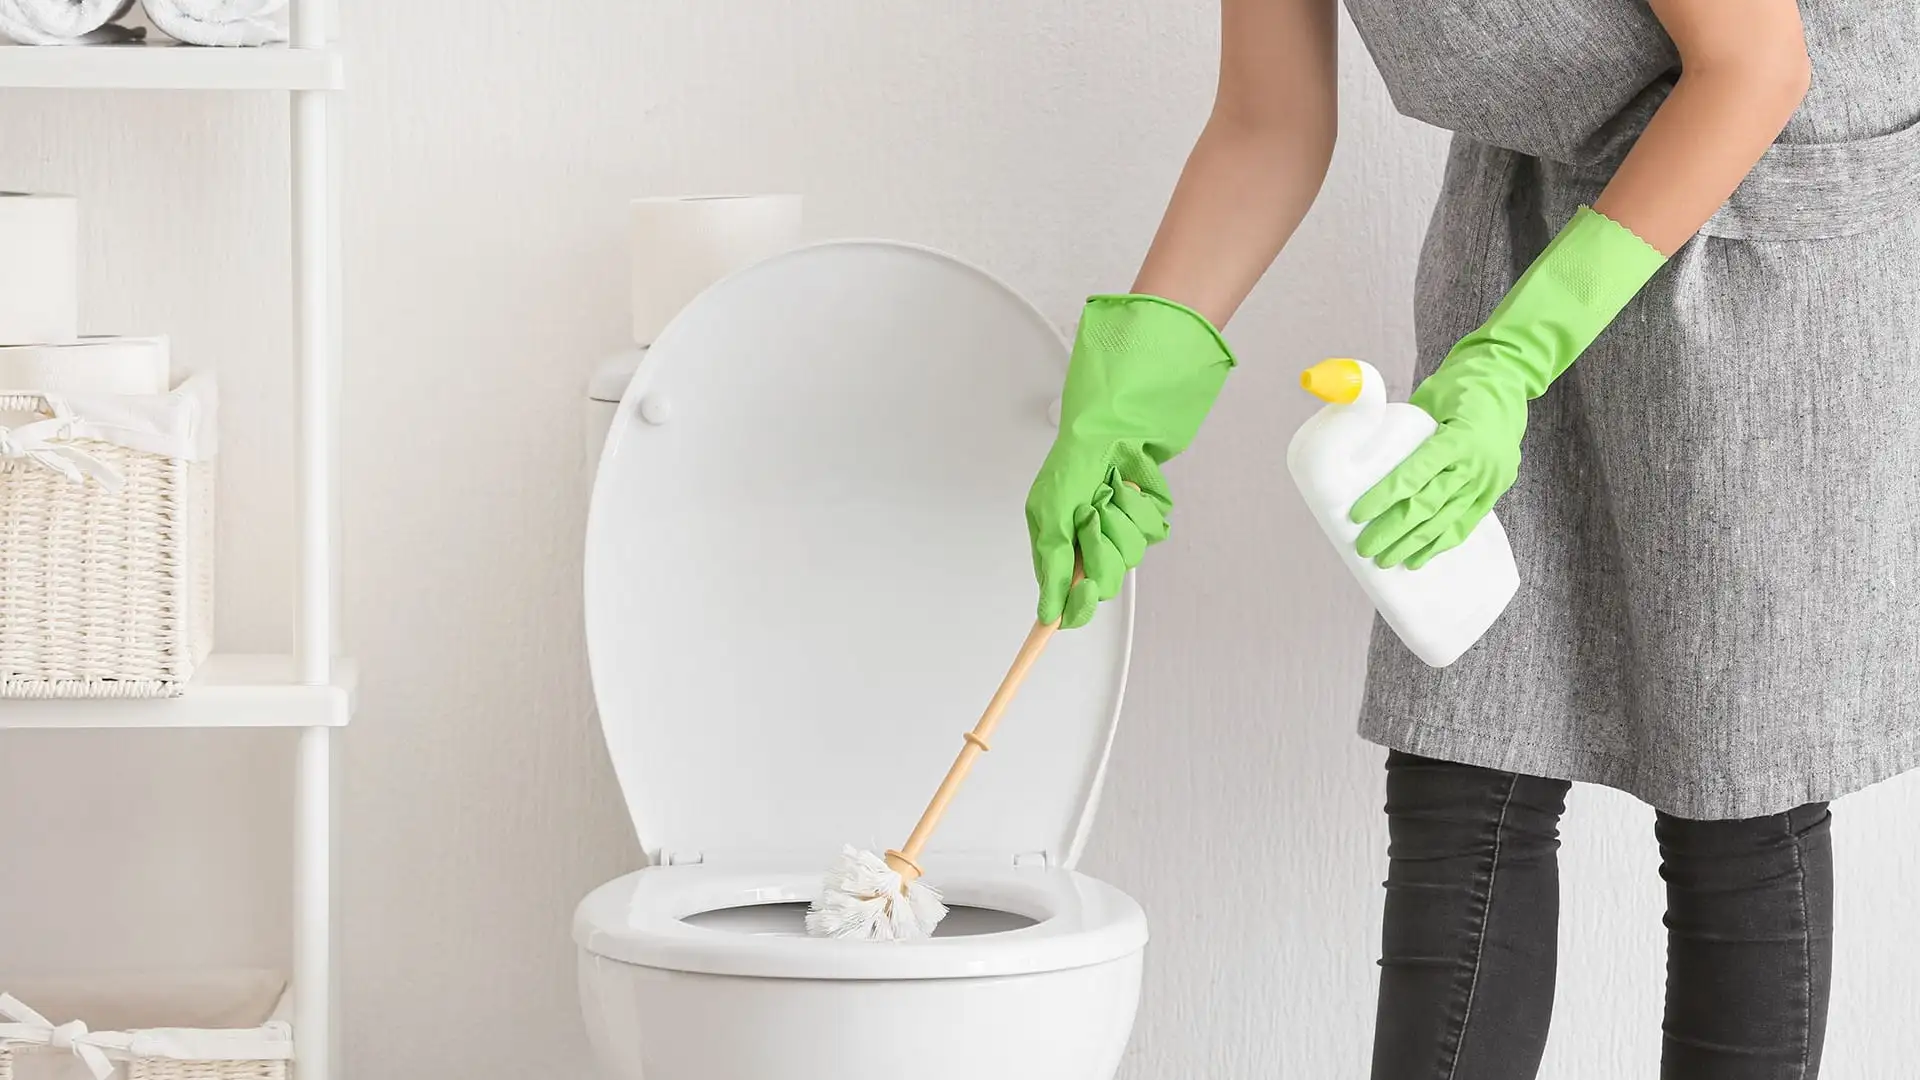
Before starting the cleaning process, it is crucial to take necessary safety precautions. Wear protective gloves and a mask to prevent direct contact with mold spores and potential allergens. Ensure the area is well-ventilated to minimize exposure to mold.
Assessing the Extent of Mold Growth
Evaluate the extent of mold growth on the silicone sealant. For minor mold infestations, a simple cleaning solution may suffice. However, for extensive mold growth, replacement of the sealant may be necessary.
Cleaning Solutions
Several cleaning solutions can be used to remove mold from silicone sealant. A common and effective solution is a mixture of equal parts white vinegar and water. Vinegar's acidic properties help to kill mold and break down its spores. Other options include commercial mold cleaners or a bleach solution (diluted with water).
Cleaning Process
- Prepare the area: Protect surrounding surfaces with plastic or tape to prevent the spread of mold or cleaning solution.
- Apply the cleaning solution: Saturate a soft-bristled brush or cloth with the chosen cleaning solution and apply it to the moldy area. Allow the solution to dwell for several minutes to penetrate the mold.
- Scrub the area: Gently scrub the mold-affected area using a back-and-forth motion. Pay close attention to areas where mold has penetrated the sealant.
- Rinse thoroughly: Rinse the cleaned area with clean water to remove any remaining cleaning solution and mold spores.
- Dry the area: Use a clean, dry cloth to thoroughly dry the area. Proper drying is essential to prevent mold from recurring.
Preventing Mold Recurrence
To prevent mold from returning to the silicone sealant, address the underlying causes of moisture and humidity. Ensure proper ventilation in the area, reduce humidity levels, and regularly clean and dry the silicone sealant.
When to Replace Silicone Sealant
If the mold infestation is severe, or if the silicone sealant is old, cracked, or damaged, replacement may be necessary. Removing and replacing the old sealant will eliminate the source of the mold and prevent future growth.
Conclusion
By following these steps and taking necessary precautions, you can effectively remove mold from silicone sealant and prevent future infestations. Regular cleaning and maintenance of silicone sealant can help to maintain a healthy and mold-free environment.
How to get rid of mould in shower silicone and bathroom sealant
- Hook: Begin with a relatable scenario, such as a homeowner discovering black mold in their shower and feeling frustrated and overwhelmed.
- Thesis statement: This article will provide a step-by-step guide to effectively remove mold from silicone sealant in bathrooms, offering both natural and chemical solutions.
- Overview of the problem: Discuss the prevalence of mold in bathrooms, especially in silicone sealant, and the health risks associated with mold exposure.
Understanding Mold and Its Causes:
- Explain what mold is and how it grows in damp environments.
- Discuss the factors that contribute to mold growth in bathrooms, such as poor ventilation, high humidity, and lack of cleaning.
- Highlight the importance of addressing the root causes of mold to prevent future growth.
Preparing for Mold Removal:
- Emphasize the importance of safety precautions, including wearing gloves, a mask, and protective eyewear.
- Provide tips on ventilating the bathroom and containing the mold to prevent its spread.
Natural Mold Removal Methods:
- Vinegar solution: Explain how to create a vinegar solution and apply it to the mold-affected areas. Discuss the effectiveness of vinegar in killing mold spores.
- Baking soda paste: Describe how to make a baking soda paste and apply it to the mold. Explain the abrasive action of baking soda in removing mold.
- Tea tree oil: Discuss the antifungal properties of tea tree oil and how to dilute it for use on mold.
- Hydrogen peroxide: Explain the oxidizing properties of hydrogen peroxide and how it can be used to bleach mold stains.
Chemical Mold Removers:
- Commercial mold cleaners: Provide information on different types of commercial mold cleaners available on the market.
- Bleach: Discuss the effectiveness of bleach in killing mold, but also highlight the potential risks and precautions associated with using bleach.
- Cautionary notes: Emphasize the importance of following the manufacturer's instructions and testing any product on a small, inconspicuous area before applying it to a larger surface.
Preventing Mold Recurrence:
- Improve ventilation: Discuss the importance of using exhaust fans and opening windows to reduce humidity.
- Regular cleaning: Recommend wiping down shower surfaces after each use and cleaning grout and sealant regularly.
- Sealant maintenance: Explain how to inspect and reapply sealant as needed.
- Addressing underlying issues: Discuss the importance of fixing any leaks or water damage that may be contributing to mold growth.
Conclusion:
- Recap the key points of the article, emphasizing the importance of both cleaning and prevention.
- Encourage readers to seek professional help for severe mold infestations.
- Offer additional tips for maintaining a mold-free bathroom.
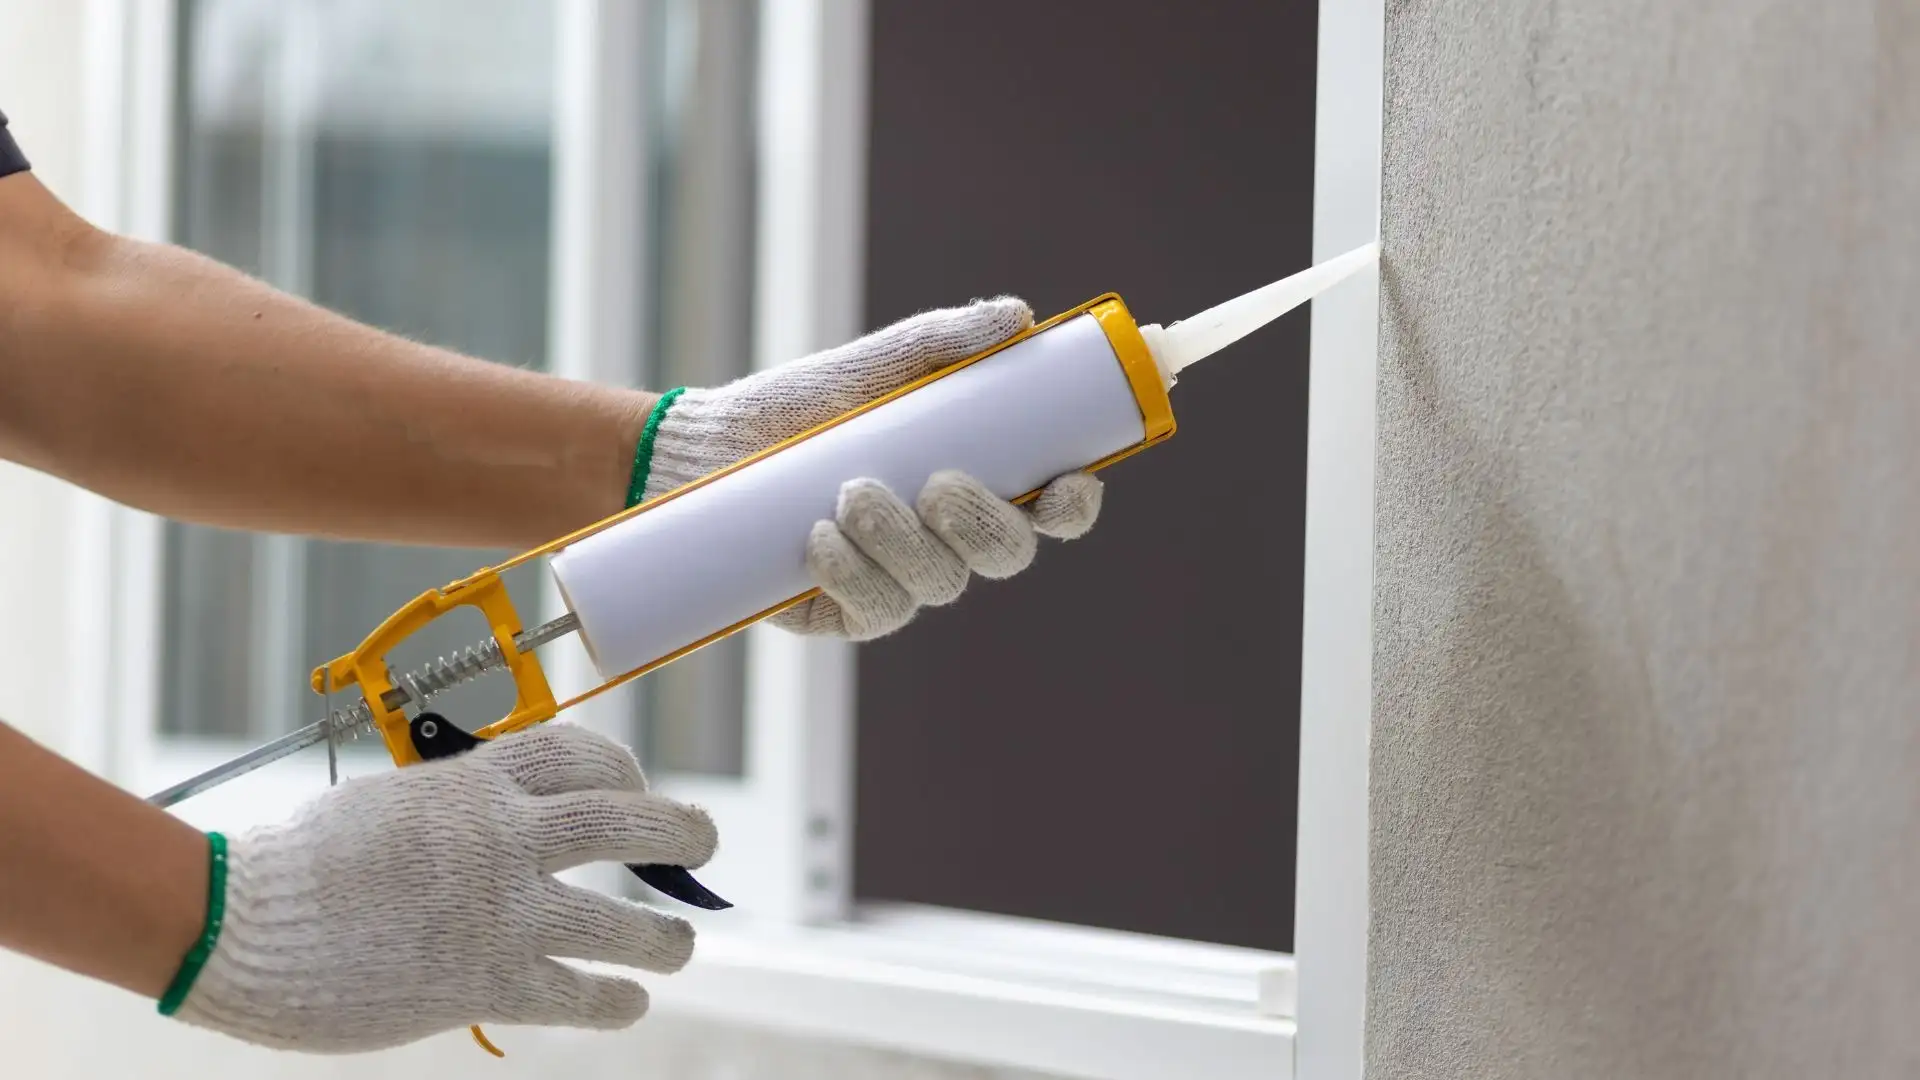
Steps on How to Replace Bathroom Silicone Sealant
Replacing the silicone sealant in your bathroom can significantly improve its appearance and prevent water damage. Over time, silicone sealant can become moldy, discolored, or cracked, allowing water to seep into walls and floors. This guide will walk you through the process of removing old sealant and applying new, fresh sealant.
Understanding Silicone Sealant
Silicone sealant is a flexible, waterproof adhesive used to seal gaps and joints in bathrooms. It creates a watertight barrier, preventing leaks and mold growth. When choosing a new sealant, opt for a high-quality, mold-resistant formula specifically designed for wet areas.
Tools and Materials Needed:
- Utility knife or razor blade
- Silicone sealant remover
- Putty knife
- Caulk gun
- Masking tape
- Isopropyl alcohol
- Clean cloths
- Ventilation fan
Steps to Replace Bathroom Silicone Sealant:
- Prepare the Area: Before you begin, ensure the area around the sealant is clean and dry. Use masking tape to protect adjacent surfaces from the sealant remover.
- Remove the Old Sealant: Carefully cut away the old sealant using a utility knife or razor blade. Be gentle to avoid damaging the surrounding surfaces. For stubborn sealant, apply a silicone sealant remover and let it sit for the time specified on the product label. Use a putty knife to scrape away the softened sealant.
- Clean the Surface: Clean the area thoroughly with isopropyl alcohol to remove any remaining sealant residue, dirt, or mold. Allow the surface to dry completely.
- Apply the New Sealant: Load the caulk gun with the new silicone sealant. Cut the tip of the nozzle to the desired width. Starting at one end of the joint, apply the sealant in a continuous bead, pressing firmly and evenly.
- Smooth the Sealant: Use a wet finger or a caulk smoothing tool to create a smooth, rounded bead. Avoid creating air bubbles or gaps.
- Clean Up: Remove the masking tape immediately after applying the sealant. Clean any excess sealant with a damp cloth.
- Allow to Cure: Allow the sealant to cure completely according to the manufacturer's instructions. Avoid using the shower or tub for at least 24 hours.
Tips for a Successful Sealant Replacement:
- Ventilation: Ensure proper ventilation during the removal and application process to reduce exposure to fumes.
- Safety First: Wear gloves and eye protection to avoid skin irritation and eye damage.
- Regular Maintenance: Inspect your bathroom sealant regularly and replace it as needed to prevent water damage and mold growth.
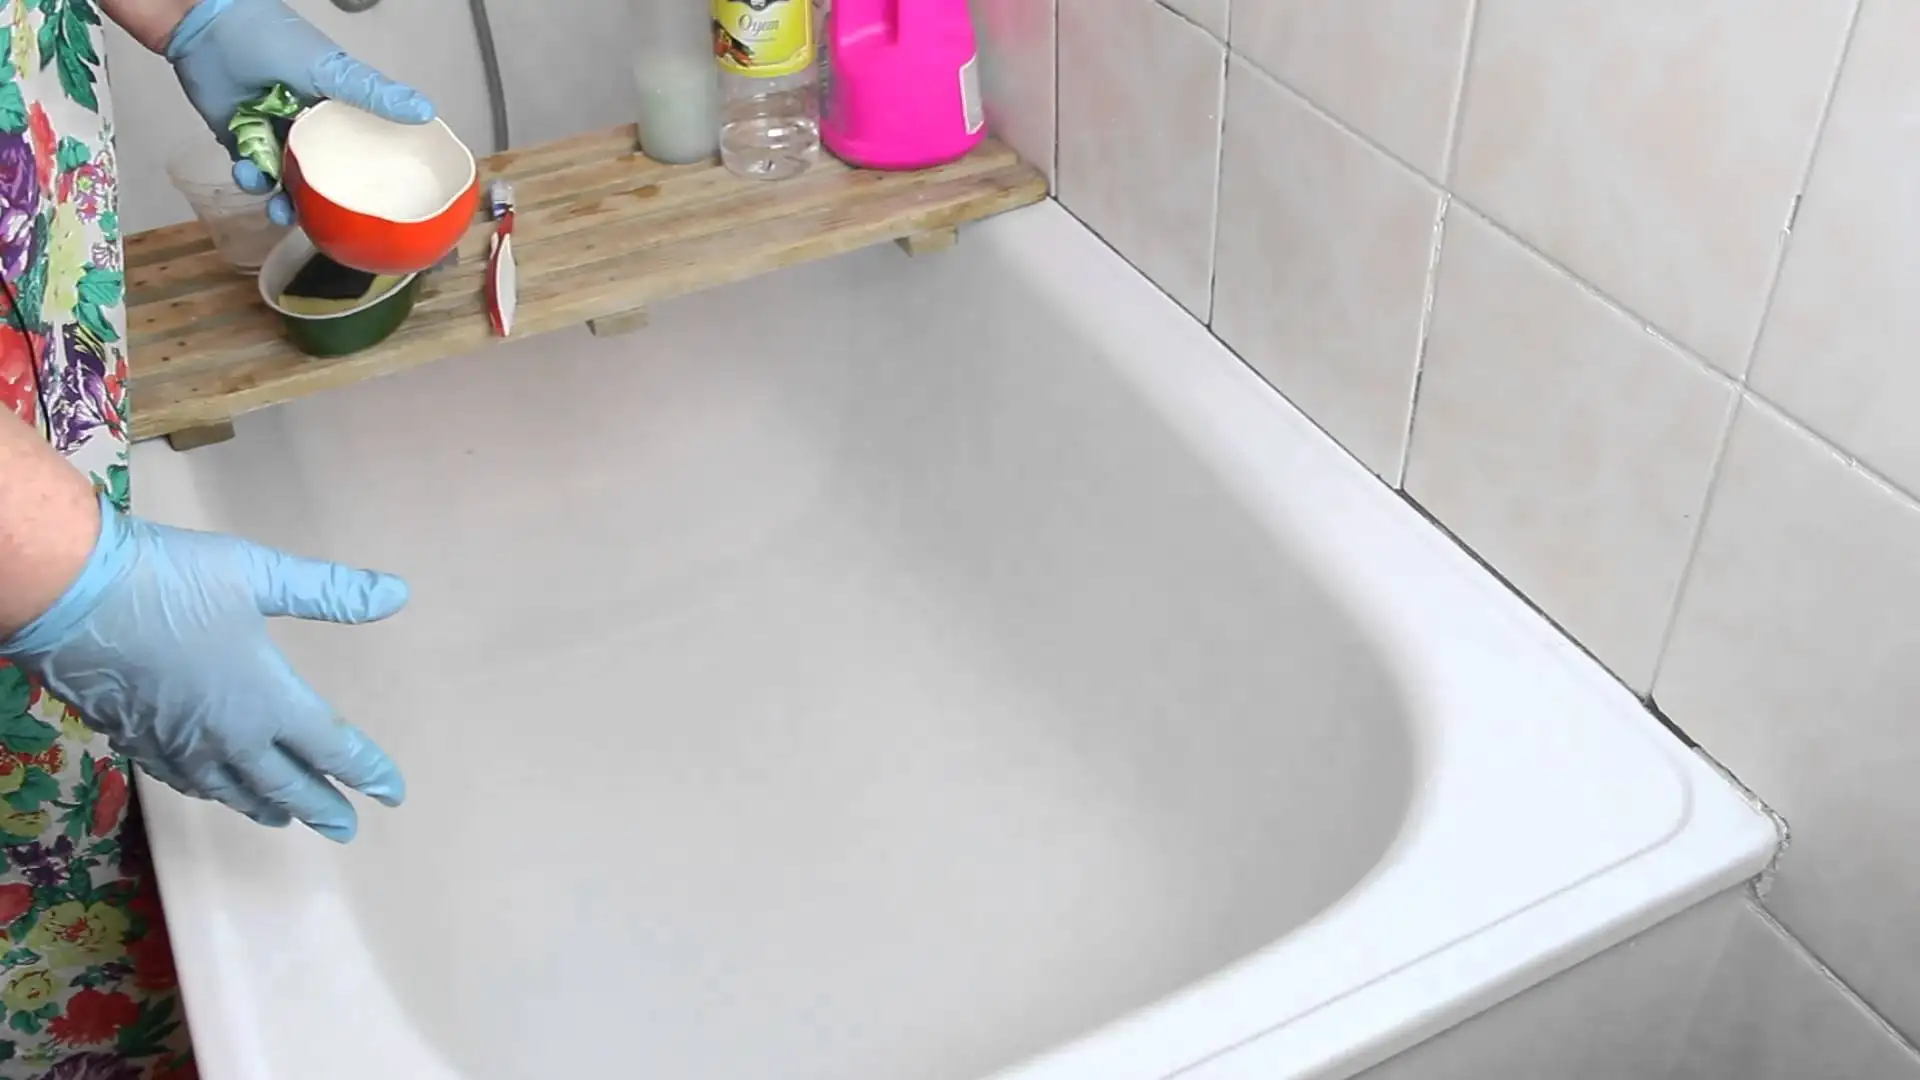
How to keep bathroom sealant clean?
Maintaining a clean and hygienic bathroom is essential for a healthy living environment. One often overlooked area is the bathroom sealant, which can become discolored, moldy, and unsightly over time. This guide will provide you with effective tips and techniques to keep your bathroom sealant clean and fresh, extending its lifespan and enhancing the overall appearance of your bathroom.
Understanding Bathroom Sealant
Bathroom sealant, also known as caulk, is a flexible, water-resistant material used to seal gaps and joints between surfaces in bathrooms. It helps to prevent water from seeping into walls and floors, reducing the risk of mold and mildew growth. Over time, bathroom sealant can become discolored and develop mold due to exposure to moisture and soap scum. Regular cleaning is essential to maintain its appearance and functionality.
The Importance of Regular Cleaning
Regular cleaning of your bathroom sealant can help prevent the buildup of dirt, grime, and mold. By removing these substances, you can extend the lifespan of your sealant and reduce the risk of damage to your bathroom surfaces. Neglecting to clean your sealant can lead to more serious problems, such as mold growth that can spread to other areas of your bathroom and compromise your indoor air quality.
Essential Tools and Supplies
Before you begin cleaning your bathroom sealant, gather the following tools and supplies:
- A soft-bristled brush or toothbrush
- White vinegar
- Baking soda
- Hydrogen peroxide
- Old toothbrush
- Rubber gloves
- Microfiber cloth
- Commercial bathroom sealant cleaner (optional)
Cleaning Your Bathroom Sealant
- Prepare the area: Remove any personal items or towels from the area you plan to clean.
- Mix a cleaning solution: Create a cleaning solution by combining equal parts white vinegar and water. For tougher stains, you can create a paste using baking soda and water.
- Apply the solution: Use a soft-bristled brush or toothbrush to apply the cleaning solution to the sealant. Allow it to sit for several minutes to loosen dirt and grime.
- Scrub the sealant: Gently scrub the sealant using a circular motion. Pay close attention to areas with visible mold or discoloration.
- Rinse and dry: Rinse the sealant thoroughly with clean water and dry it with a microfiber cloth.
- Treat mold: For stubborn mold, apply a hydrogen peroxide solution to the affected areas. Allow it to sit for a few minutes before scrubbing and rinsing.
Preventing Mold and Mildew
To prevent mold and mildew from returning, consider the following tips:
- Improve ventilation: Ensure that your bathroom has adequate ventilation by using an exhaust fan or opening a window.
- Dry the area after showers: Use a squeegee to remove excess water from shower walls and doors after each use.
- Regularly inspect your sealant: Inspect your bathroom sealant for signs of wear and tear, and replace it if necessary.
- Choose a mold-resistant sealant: When re-caulking your bathroom, opt for a mold-resistant sealant to help prevent future problems.
By following these simple steps, you can keep your bathroom sealant clean and fresh, extending its lifespan and enhancing the overall appearance of your bathroom. Regular cleaning and maintenance are key to preventing mold and mildew growth, ensuring a healthy and hygienic living environment. Remember to choose the appropriate cleaning products and techniques based on the severity of the stains and the type of sealant.