Is your toilet flushing weakly or making strange noises? These could be signs that your toilet cistern needs a good clean and descale. Over time, mineral deposits can build up inside your cistern, reducing its efficiency and potentially causing leaks. In this comprehensive guide, we'll walk you through the process of cleaning and descaling your toilet cistern, ensuring it functions optimally for years to come.
Understanding the Importance of Cistern Cleaning
Regularly cleaning and descaling your toilet cistern offers several benefits:
- Improved flushing performance: Mineral deposits can restrict the flow of water, leading to weak flushes. By removing these deposits, you'll restore your toilet's flushing power.
- Reduced water consumption: A clogged cistern may cause your toilet to use more water than necessary each time you flush.
- Longer lifespan: A clean cistern is less likely to develop leaks or other problems, extending its lifespan.
- Prevention of blockages: By removing mineral deposits, you'll help prevent blockages in your toilet.
Removing limescale in a toilet cistern
Limescale, a hard, chalky deposit that forms from mineral-rich water, is a common household problem. In toilet cisterns, limescale can accumulate over time, reducing the efficiency of your toilet and potentially causing leaks. The minerals in hard water, primarily calcium and magnesium carbonates, precipitate out of the water and adhere to surfaces. This buildup can clog pipes, reduce water flow, and even damage your toilet's internal components.
Why Remove Limescale?
- Improved Efficiency: Limescale can reduce the water pressure in your toilet, leading to incomplete flushes.
- Longer Lifespan: By removing limescale, you can extend the life of your toilet and prevent costly repairs.
- Reduced Water Consumption: A clean cistern operates more efficiently, reducing your water consumption.
- Aesthetics: Limescale can make your toilet look dirty and unhygienic.
Tools and Materials Needed
- White vinegar: A natural and effective limescale remover.
- Plastic bucket: To hold the vinegar solution.
- Old toothbrush: For scrubbing stubborn limescale deposits.
- Rubber gloves: To protect your hands from the vinegar.
- Safety goggles: To protect your eyes from splashes.
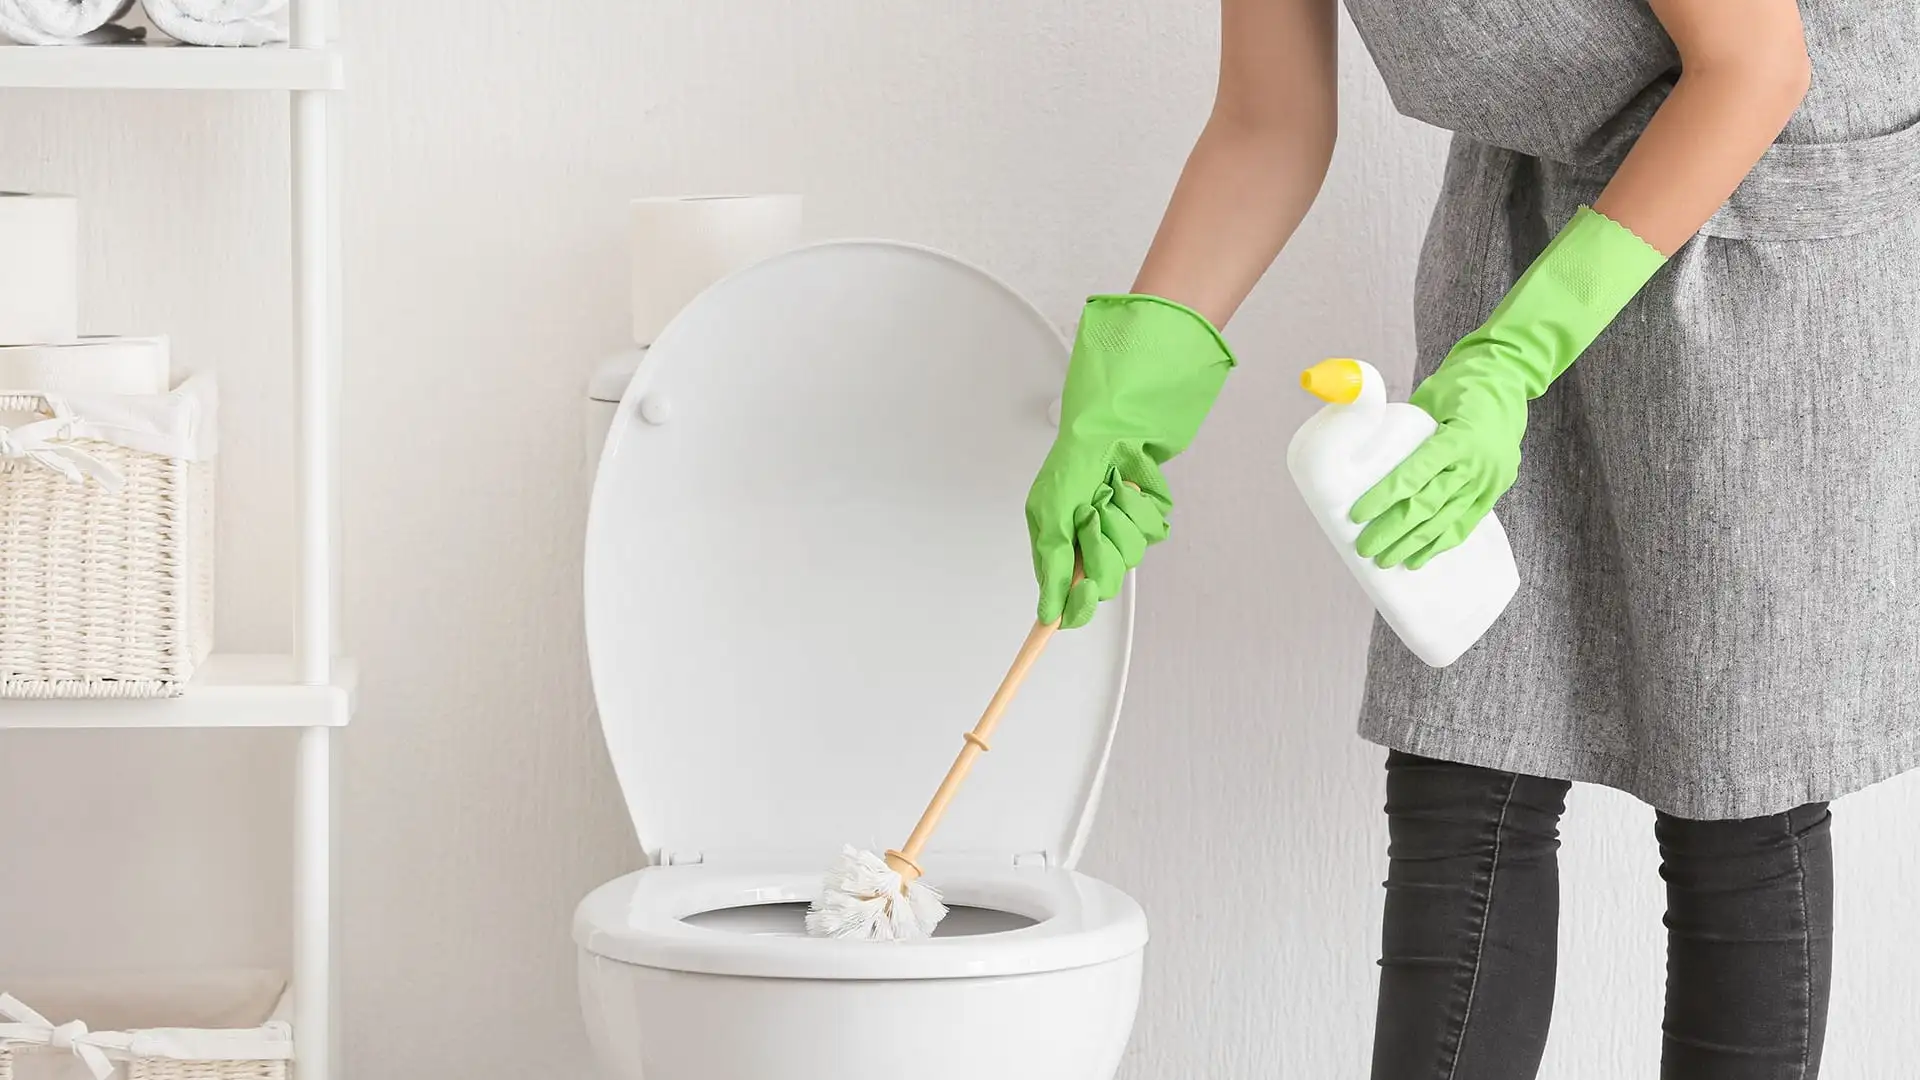
Step-by-Step Guide
- Turn off the water supply: Locate the water supply valve to your toilet and turn it off.
- Flush the toilet: Flush the toilet to remove any remaining water in the bowl.
- Empty the cistern: Carefully pour the water from the cistern into a suitable container.
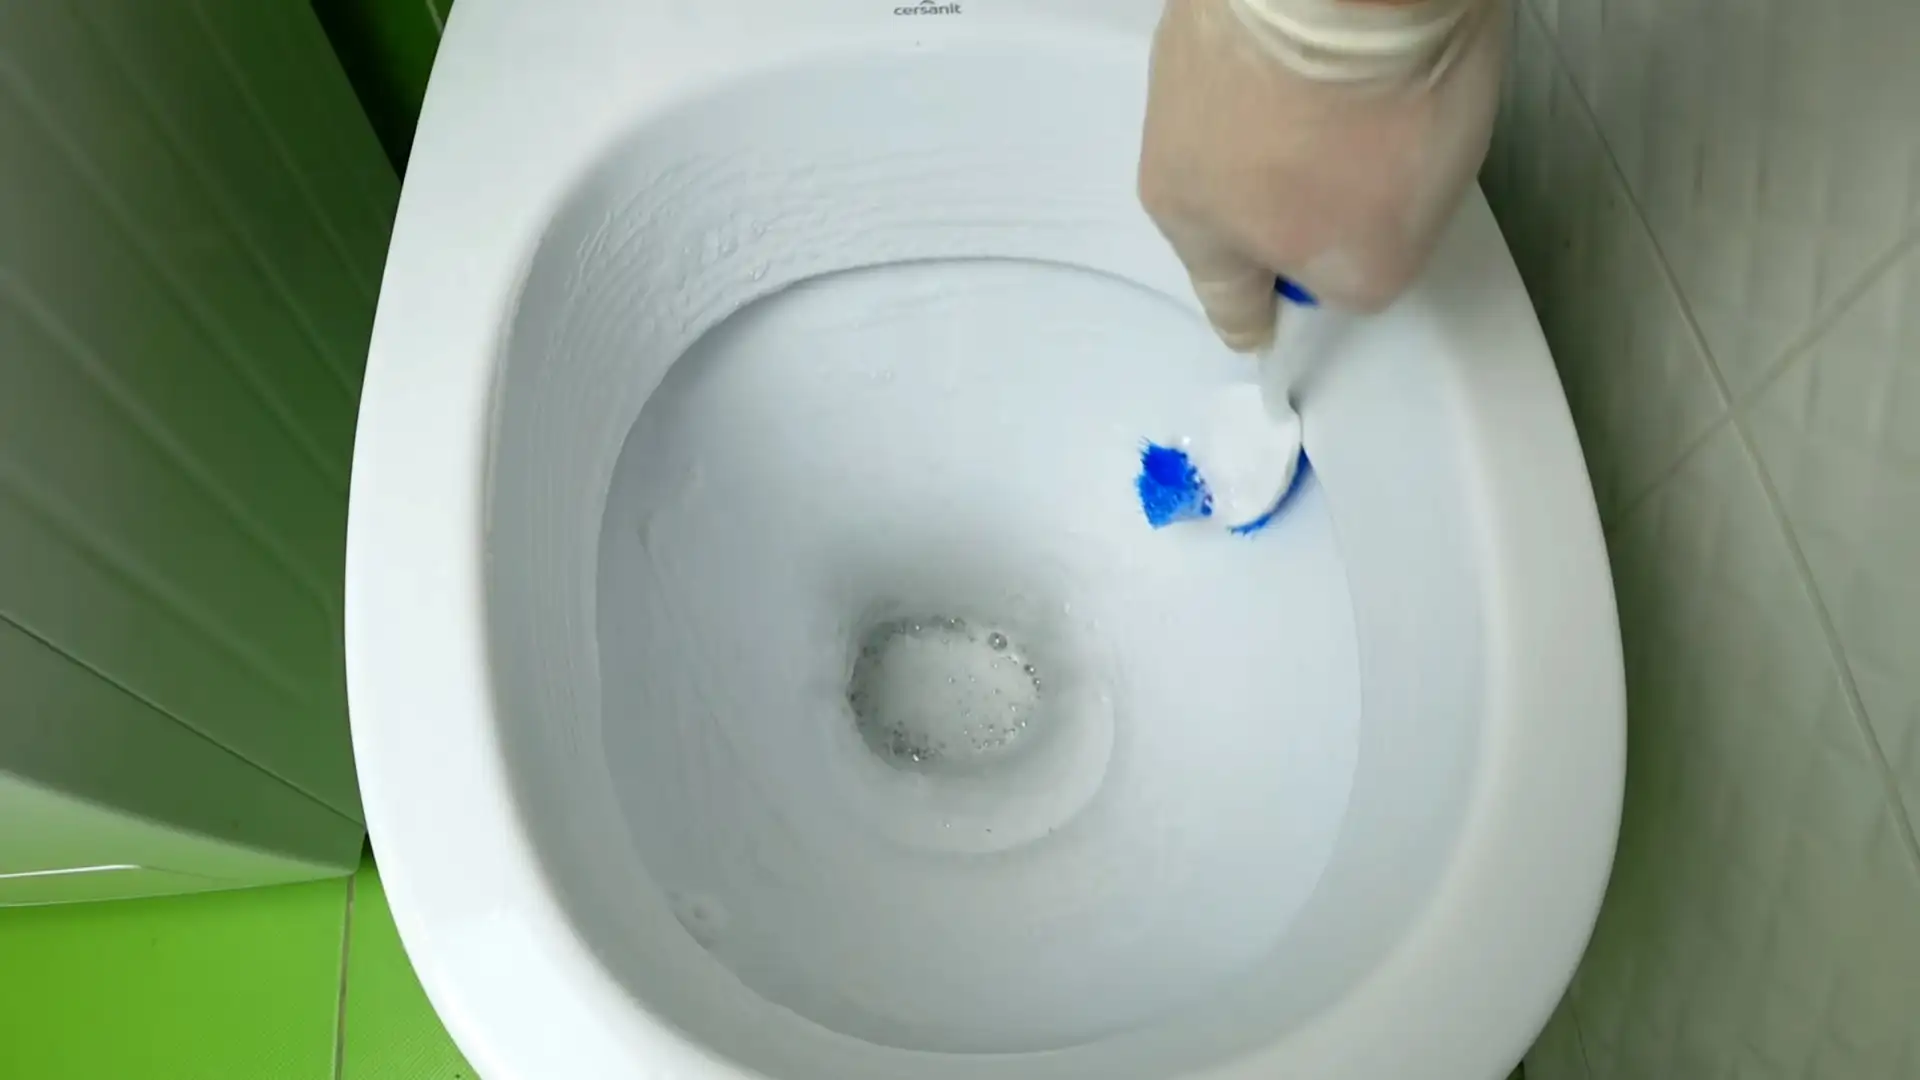
- Apply vinegar: Fill the plastic bucket with white vinegar. Using a sponge or cloth, apply the vinegar to all the limescale-affected areas of the cistern. Pay close attention to the inlet valve, overflow pipe, and any other components with visible deposits.
- Let it soak: Allow the vinegar solution to sit on the limescale for at least an hour, or overnight for stubborn deposits. The acetic acid in the vinegar will help to break down the mineral buildup.
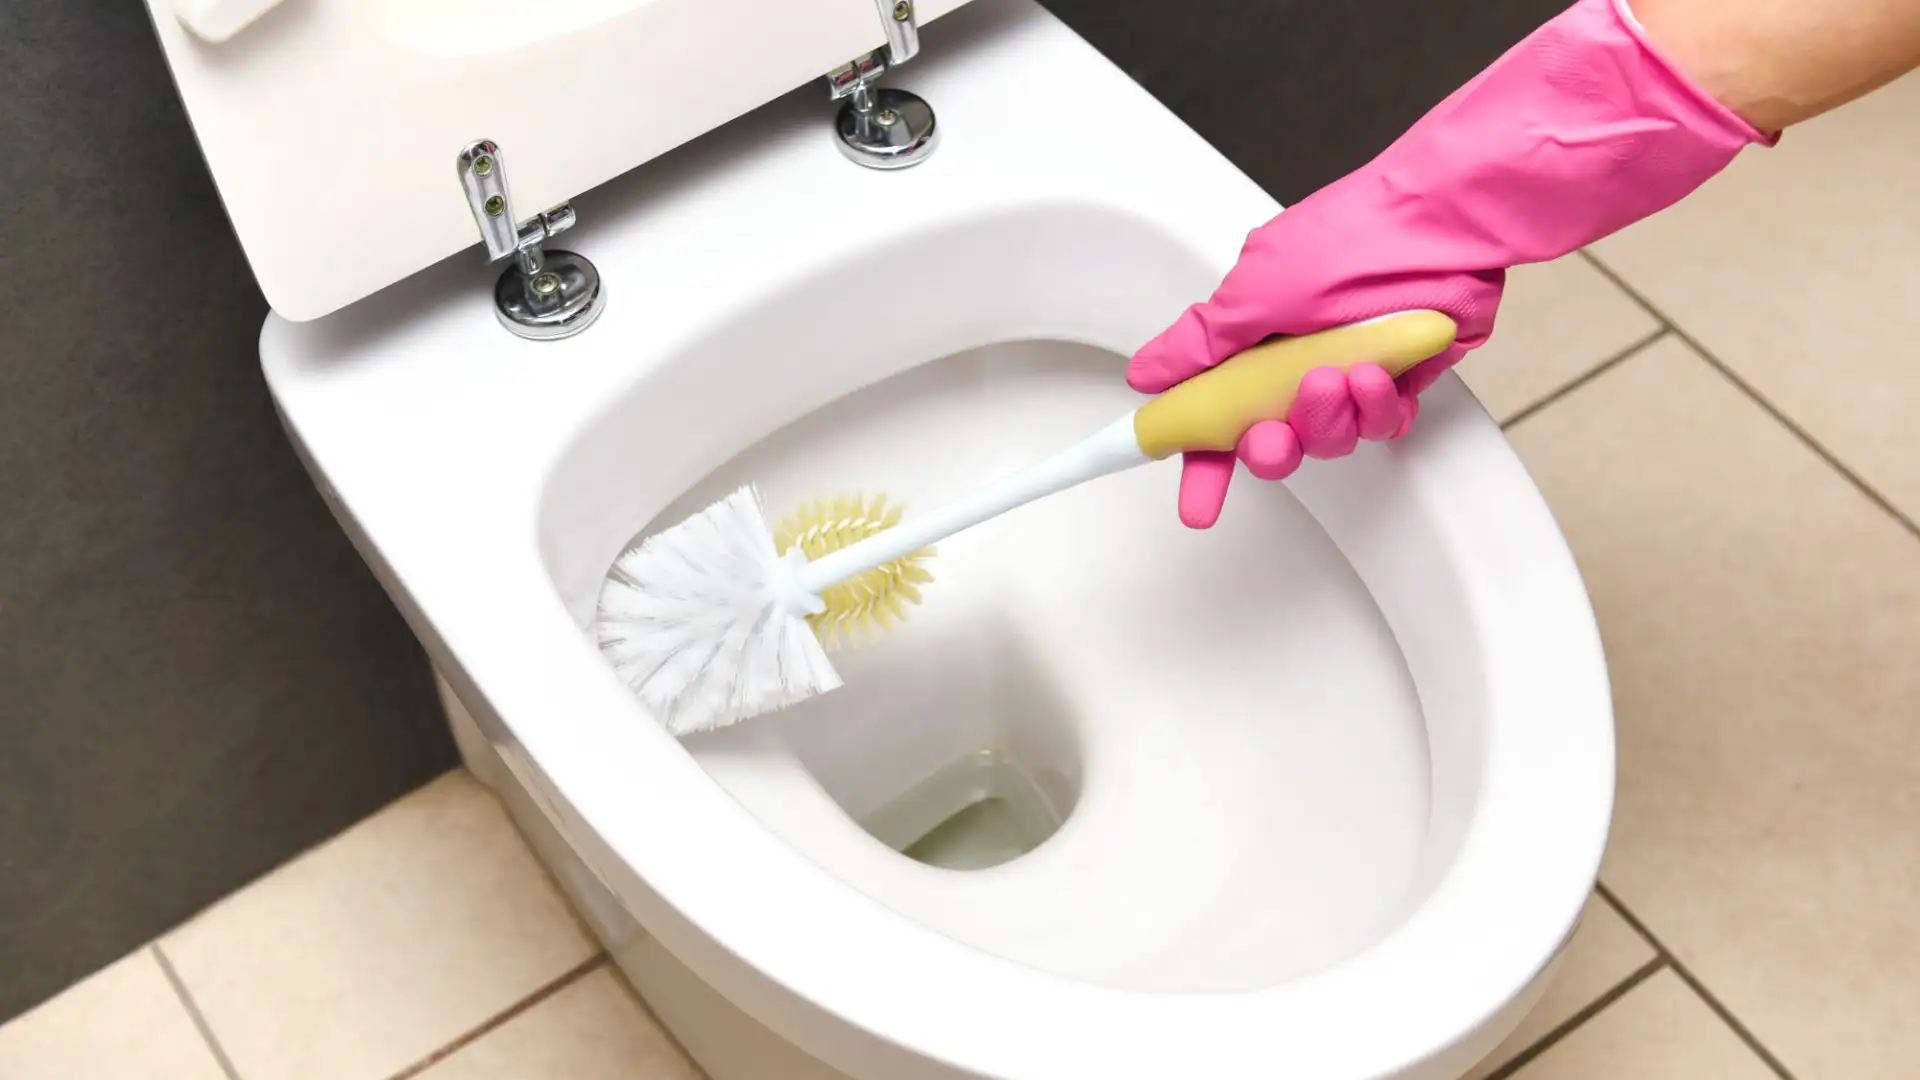
- Scrub: Use an old toothbrush to scrub away any remaining limescale. For particularly stubborn areas, you may need to repeat the vinegar application and scrubbing process.
- Rinse thoroughly: Once the limescale has been removed, rinse the cistern thoroughly with clean water.
- Reassemble: Reattach the cistern lid and turn the water supply back on. Flush the toilet several times to ensure it is working properly.
Preventing Future Buildup
- Water softener: Consider installing a water softener to reduce the mineral content of your water.
- Regular cleaning: Clean your toilet cistern regularly to prevent limescale buildup.
- Commercial limescale removers: Use a commercial limescale remover if vinegar is not effective.
How to clean a toilet cistern after descaling
Descaling your toilet cistern is an essential part of regular maintenance. However, after removing mineral deposits, it's crucial to clean the cistern thoroughly. This guide will walk you through the steps involved in cleaning your toilet cistern post-descaling.
Understanding the Importance of Post-Descaling Cleaning
When you descale your toilet cistern, you're essentially removing a buildup of minerals that can clog pipes and reduce water flow. However, the descaling process itself can leave behind residue. This residue, if not cleaned properly, can lead to the re-formation of mineral deposits and even cause damage to your toilet's internal components.
Gathering the Necessary Supplies
Before you begin, gather the following supplies:
- A soft-bristled brush
- A microfiber cloth
- White vinegar
- Baking soda
- Rubber gloves
- A toothbrush (for hard-to-reach areas)
Step-by-Step Cleaning Process
- Turn off the Water Supply: Locate the water supply valve to your toilet and turn it off. Flush the toilet to remove any remaining water in the bowl.
- Remove the Tank Lid: Carefully lift off the toilet tank lid.
- Clean the Tank Walls: Using a soft-bristled brush, gently scrub the inside walls of the tank. Pay close attention to areas where mineral deposits may have been particularly stubborn.
- Clean the Fill Valve and Float: The fill valve controls the water level in the tank, and the float regulates the fill valve. Use a toothbrush to clean around the base of the fill valve and any other hard-to-reach areas.
- Create a Natural Cleaning Solution: Mix equal parts white vinegar and baking soda in a bowl. This mixture is an effective natural cleaner that can help remove any remaining residue or odors.
- Apply the Cleaning Solution: Using a microfiber cloth, apply the cleaning solution to the inside of the tank, paying particular attention to any stained or discolored areas.
- Let the Solution Sit: Allow the cleaning solution to sit for approximately 30 minutes to an hour. This will give the solution ample time to break down any remaining mineral deposits or grime.
- Scrub Again: After the solution has had time to work, scrub the tank again with the soft-bristled brush.
- Rinse Thoroughly: Use a clean, damp microfiber cloth to rinse the inside of the tank, removing any remaining cleaning solution or debris.
- Dry the Tank: Use a dry microfiber cloth to thoroughly dry the inside of the tank.
- Reassemble the Tank: Once the tank is completely dry, reassemble the tank lid and turn the water supply back on.
Preventing Future Buildup
To prevent mineral deposits from building up again, consider installing a water softener. Additionally, you can add a water treatment product to your toilet tank to help inhibit the formation of scale.
By following these steps, you can ensure that your toilet cistern is clean and free of mineral deposits. Regular cleaning and maintenance will help to prolong the life of your toilet and prevent costly repairs.